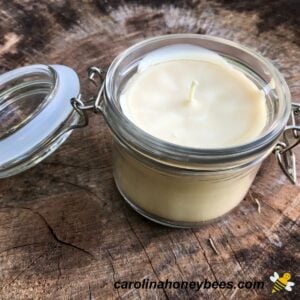
DIY Beeswax Candle Recipe Tutorial
Easy step by step instructions for making your own diy beeswax candles in a glass jar. The mix of beeswax and coconut oil creates a unique candle blend that burns well.
This post may contain affiliate links. As an Amazon Associate, I earn from qualifying purchases.
Read my Disclosure.Tools
- small glass jars
Supplies
- 8 oz beeswax net wt
- 1/4 cup coconut oil
- 2 wicks cotton candle wick 2/0
- 1 bottle essential oil of your choice (optional)
Instructions
- Melt beeswax in a double boiler pot (or equivalent insert). It is always a good idea to have a pot dedicated to wax crafting.Using the double boiler method involved having water in the bottom pot with wax in the top. This makes melting beeswax much easier and safer.

- Once the beeswax is completely melted - add in the measured amount of coconut oil and stir.

- When making candles, I prefer to "pickle the wick". Prior to setting in the jar, I dunk the wick into the melting beeswax.

- Remove wick and stretch to a straight shape - let cool a minute or so. This makes it much easier to work with.

- Prepare your wick by wrapping one end around a wooden bamboo skewer, pencil or craft stick. The wick should hang down into the bottom of the jar - center it in the middle as much as possible.

- Remove the melted wax from heat and add the desired essential oil. About 50-100 drops . Lighter fragrances may require more for a stronger scent. This involves a bit of personal preference.

- Slowly pour wax into your prepared containers. Keep the wick centered as well as you can. If possible, the container should be on a counter space where they can be left undisturbed for a couple of hours to cool. Leave a bit of head space at the top of the container.

- Once candle is cool, trim with to 1/4". This allows for cleaner burning.

Notes
- I recommend warming the glass jars prior to setting the wicks.
- Once the wax is poured into the jar - leave is sitting still until the surface has cooled.
Learn more about bees and using products from the hive!Join me on Pinterest - @carolinahoneyb