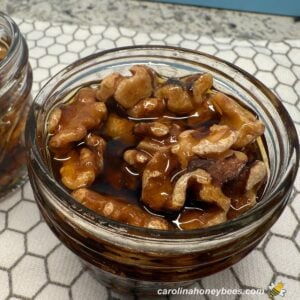
Honey Walnuts: Preserving Walnuts in Raw Honey

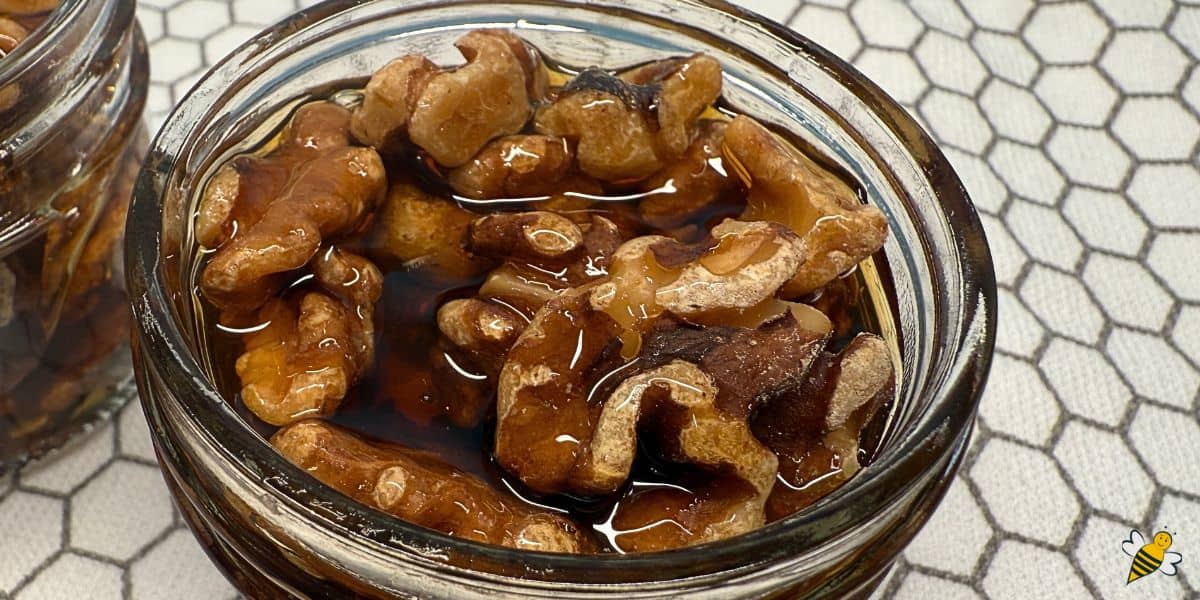
If you are looking for a topping that taste great and looks elegant, let me introduce you to honey walnuts. This is not the glazed or candied version that you are all familiar with. No, this is a healthier, real-food version: raw walnuts preserved in honey. This can be a pantry staple for whenever you want a little something sweet and special. It also makes an impressive edible gift – and no one will know how easy it is to make. A jar of honey-soaked walnuts lasts a long time and it is the perfect topping for yogurt or oatmeal, and a nice addition to charcuterie boards and more.
And, if you’re on a honey kick – be sure to check out my collection of easy honey recipes. You will find everything from snacks to main entrees to sweeten your life.
Why Preserve Walnuts in Honey?
Preserving nuts in honey is one of those old-work kitchen tricks that has been practiced for a very long time. Together the ingredients create a naturally sweet treat that gets better with time.
Honey walnuts last for months, taste great and form a powerhouse snack that rivals any gourmet topping. The raw honey acts as a natural preservative as it gently infuses the nuts with sweetness.
Ingredients & Materials
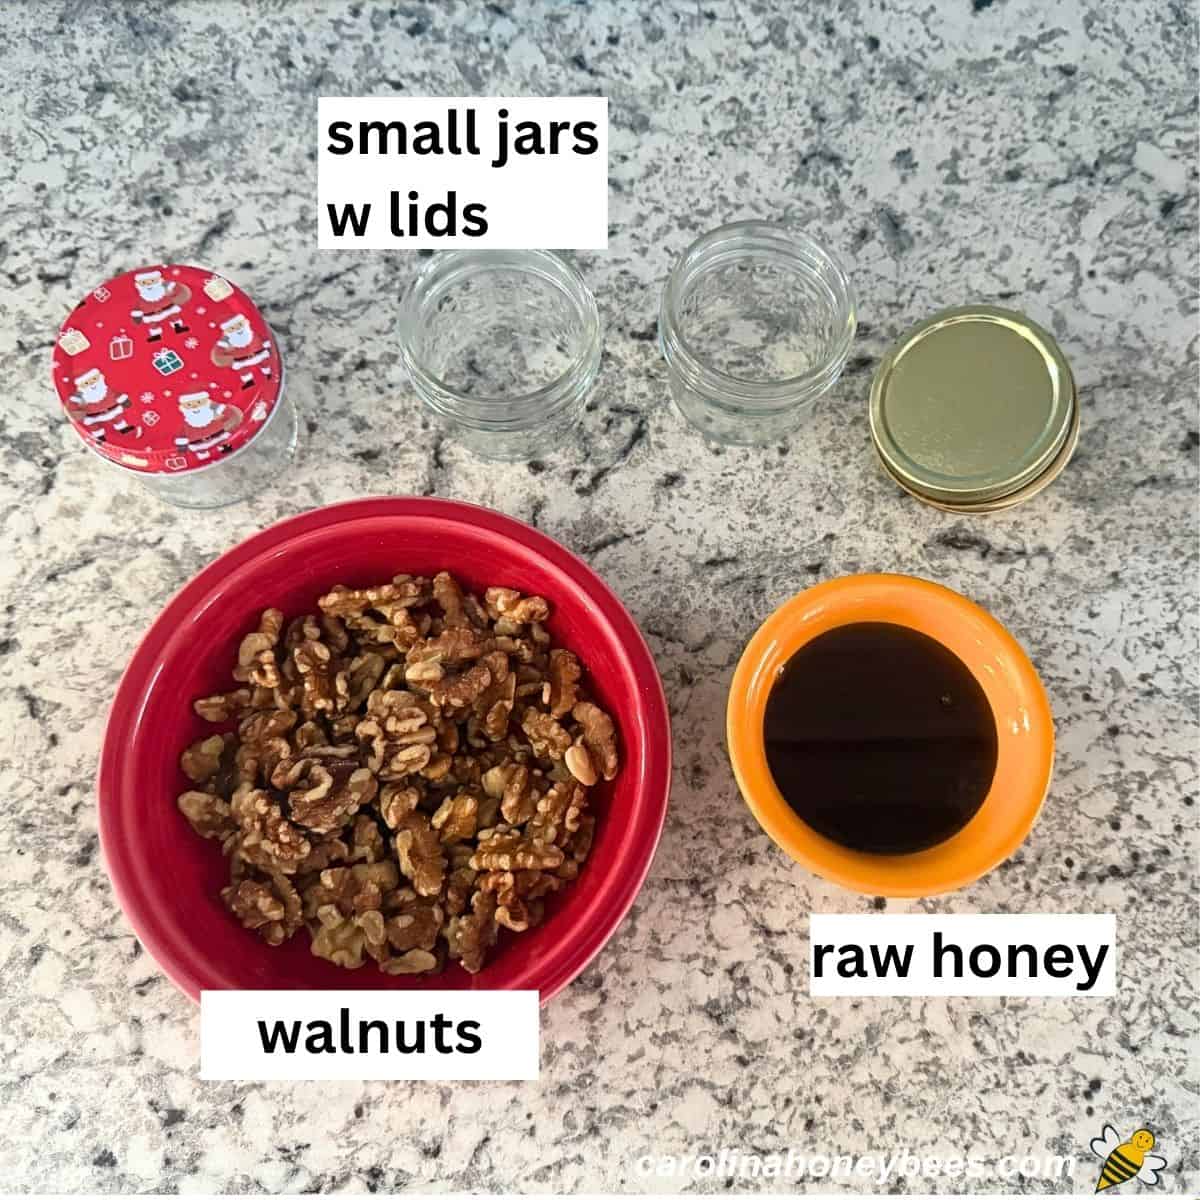
The beauty of this recipe is that you do not need a lot of fancy ingredients – just walnuts and raw honey. Quality does matter though – choose the freshest walnuts possible and a honey flavor that you love.
You may decide to play with the flavors and try different varieties or types of honey for a unique taste. Some folks add a pinch of salt or orange zest for an extra kick.
- walnuts
- raw honey
- jars with lids
Walnuts: I like to buy bags of walnut halves and pieces. Most of the pieces are larger and I don’t have to pick them out of the shells.
Raw Honey: You can use any honey but raw honey gives the best nutritional value. Pure honey & raw honey are not always the same thing – so read those label carefully.
Choose your jars. Wide mouth glass jars are wonderful for this recipe but you can use normal widths too.
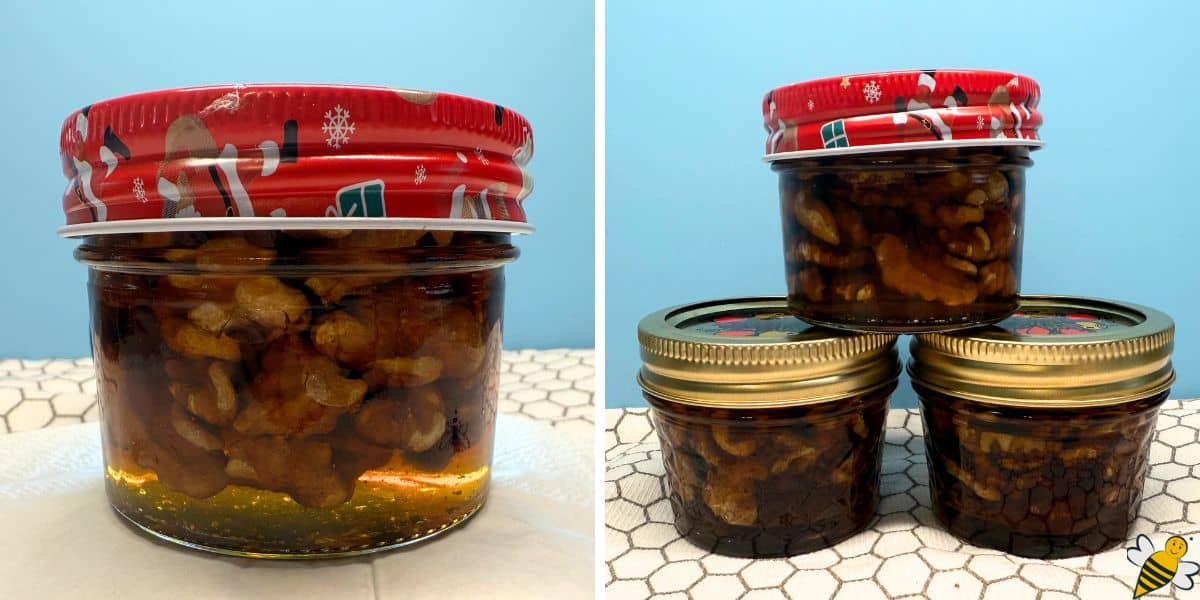
You will be putting nuts into the jar and later spooning them out. Choose wisely. If you are making honey gifts – small decorative jars are often a top choice.
Step by Step: How to Make Honey Walnuts
These simple steps will walk you through creating your own jar of nuts in honey. Enjoy the process, this recipe rewards patience but doesn’t have to be prefect. I will share some tips to help the process along. Full directions and tips in card at bottom of post.
Prepare your jars and lids by sterilizing them in hot water (or other methods). We want those jars to be clean and dry before you add any ingredients.
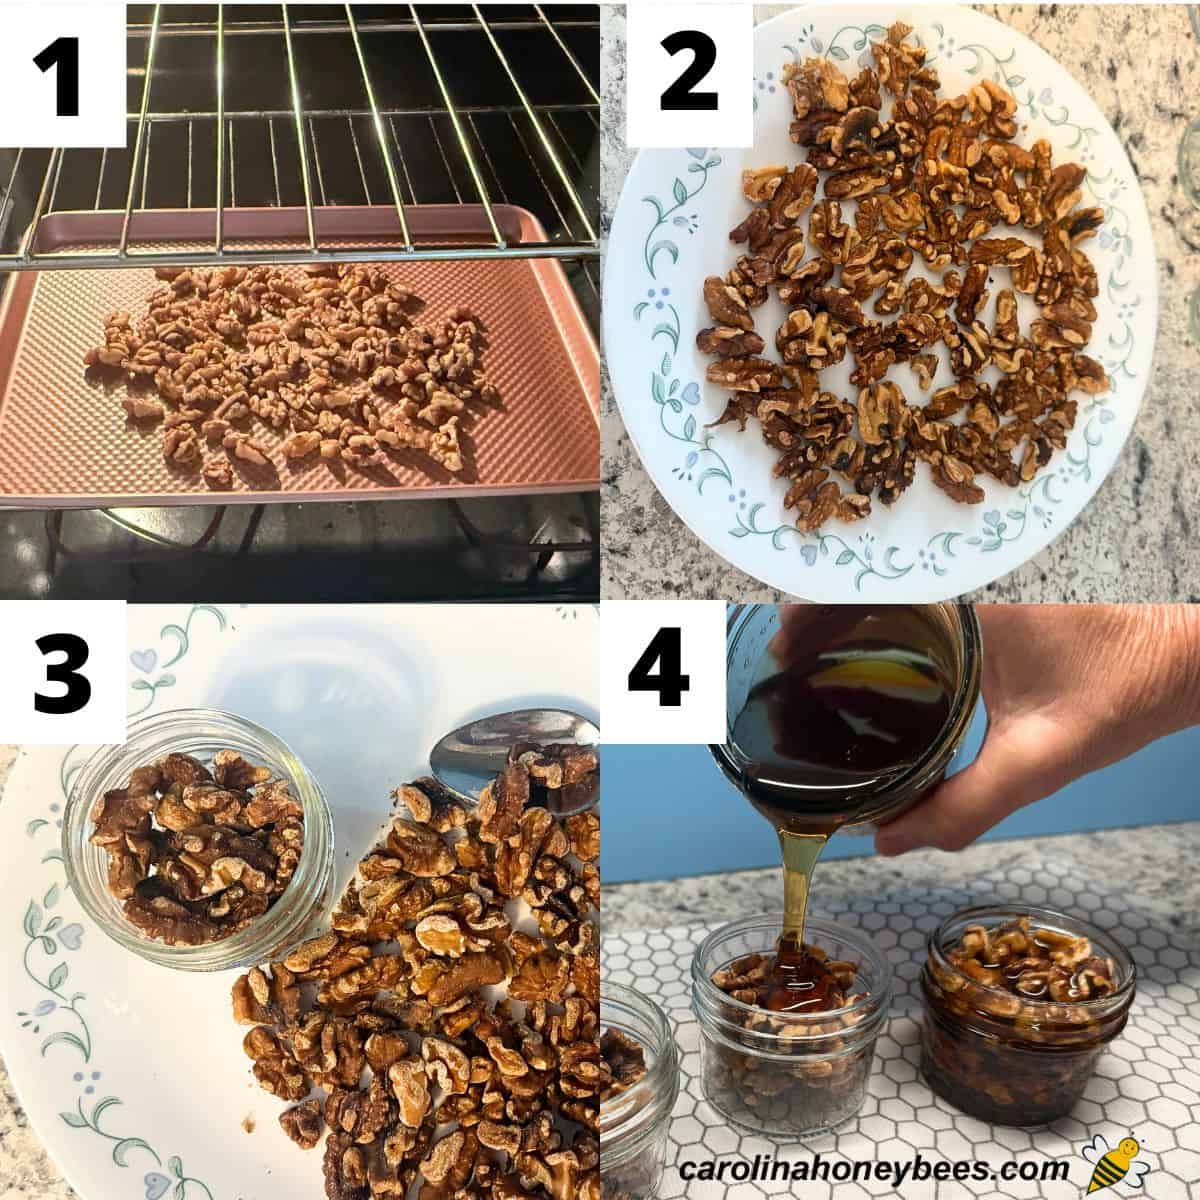
Toasting Walnuts. You can use raw walnuts but I find the flavor is greatly improved if you toast them first (this is optional).
I place walnuts in a single layer and toast in a pre-heated 350 degree oven for about 7 minutes. After removing from oven, let them cool completely.
Fill Your Jars – Pack walnuts into your clean jars. Don’t over pack – but press firmly leaving a quarter-inch headspace at the top.
Add Honey – Pour honey over the walnuts in the jar. Pour slowly to allow time for the honey to reach all the crevices. Take your time. Gently tap the jar or use a knife or skewer to remove any trapped air bubbles.
Seal – Use a damp cloth to wipe jar rims clean. Add a lid for a secure seal. Now you are ready to enjoy your snack or store for later use.
Shelf Life & Storage
Honey walnuts can be stored at room temperature. Because honey is naturally antimicrobial, it does most of the preservation work for you.
However, light fermentation can happen over time, and is easy to slow by refrigerating. Keep it clean: clean jars, clean utensils and no double-dipping.
As always, if anything smells off or looks funky, trust your instincts and toss it.
How to Use
This is one of those multipurpose recipes that can be used in many ways. Feel free to add it wherever you need a little sweetness and crunch.
A spoonful on your morning oatmeal or your favorite ice cream works well. Add some honey walnuts to salad dressings or even your baked goods – they are delicious.
In fact, baking with honey is often a smart move as it adds moisture to your recipes.
Tips for Success
- Don’t skip the step of cooling toasted walnuts – excess condensation can cause problems with the water content of your honey
- Make sure your jars are clean and dry.
- Use good quality honey – raw honey should be thick not watery
- Be sure to remove air bubbles so all the nuts are coated in honey
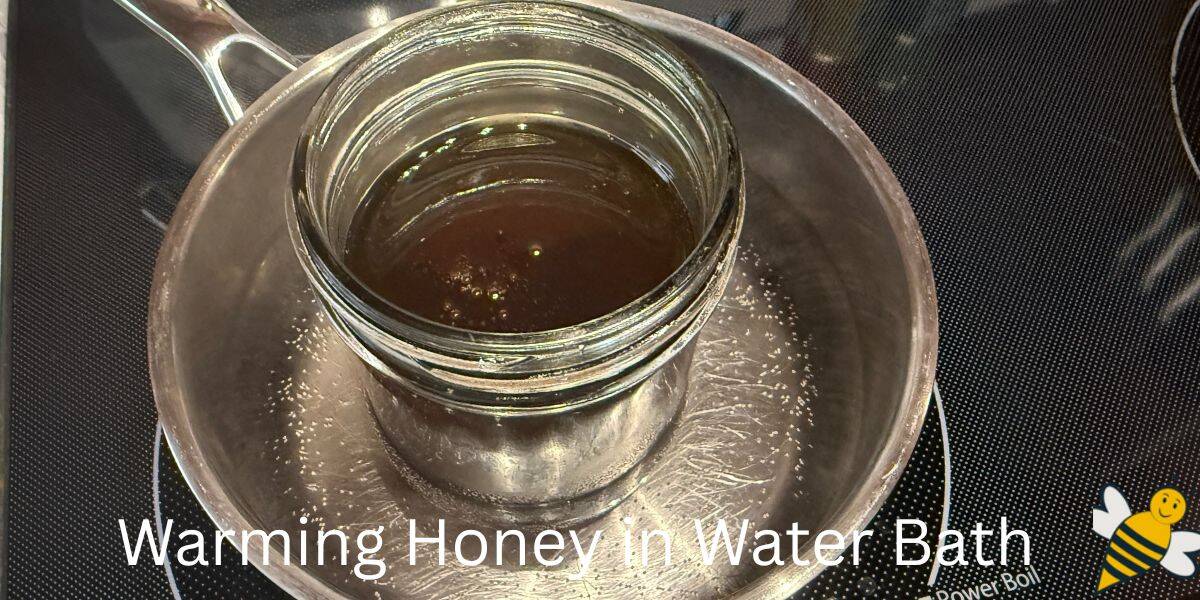
- If your honey is cold and thick – warm it slightly in a water bath first. Raw honey in the microwave is not the best idea.
Final Thoughts
If you love practical recipes that taste great without hours of effort – honey walnuts might just be your new favorite. It is quick and easy and looks anything but. Whether you’re gifting it or keeping it all for yourself, these sweet treats will never disappoint.
How to Make Honey Walnuts (A Simple DIY Honey + Nuts Recipe)
This post may contain affiliate links. As an Amazon Associate, I earn from qualifying purchases.
Read my disclosure.Ingredients
- 4.4 oz walnut halves & pieces net wt (1 1/4 cup)
- 11 oz raw honey (net wt)
Instructions
- Sterilize the jars: Make sure your glass jars and lids arethoroughly cleaned and sterilized. Let them air-dry completely.
- Prepare the walnuts (raw or toasted): Use raw walnuts, or lightly toast them in a dry skillet on stove or 350°F (175°C) oven for 5–7 minutes until fragrant. Let them cool completely before adding to the jars—warm nuts will create condensation.
- Fill the jars: Pack the walnuts into the jars, leaving about¼ inch of headspace at the top.
- Add the honey: Warm honey slightly if needed so it’s pourable. Cover the walnuts fully, ensuring no pieces float above the surface.
- Remove air bubbles: Tap the jar gently on the counter or slide a chopstick down the sides to release any trapped air.
- Seal and store: Wipe the rims clean, seal the jars, and store in a cool, dry place. Refrigerate if you prefer a thicker honey texture or want to slow natural fermentation.
Notes
- Spoon over yogurt, oatmeal, pancakes, or ice cream
- Add to salads or cheese boards
- Stir into dressings or baked goods
So easy.