DIY Honey Bucket
If you are a new beekeeper with honey to bottle, a simple DIY honey bottling bucket can make your task much easier. It’s cleaner, faster and certainly less sticky. A food grade bucket/honey gate combo is easy to make, lasts for years and is budget friendly. Let’s walk through the exact steps to make your own honey bottling bucket – step by step.
This set up works perfectly for bottling honey in small batches. Some larger beekeepers use the same set up – but for the backyard beekeeper looking to save money – this is ideal.
What Is a Honey Bottling Bucket (and Why You Need One)
Honey is sticky. You don’t really appreciate just how sticky it is until you try working with larger quantities.
The purpose of a honey bottling bucket is simple—it helps you control the flow of honey as you fill your jars, instead of pouring and hoping for the best.
You’ll still want a damp cloth nearby for drips, but a gated bucket makes the whole process much smoother.
Materials Needed
These are the basic supplies needed to make a DIY honey bottling bucket. Your exact list may vary slightly depending on the products you use.
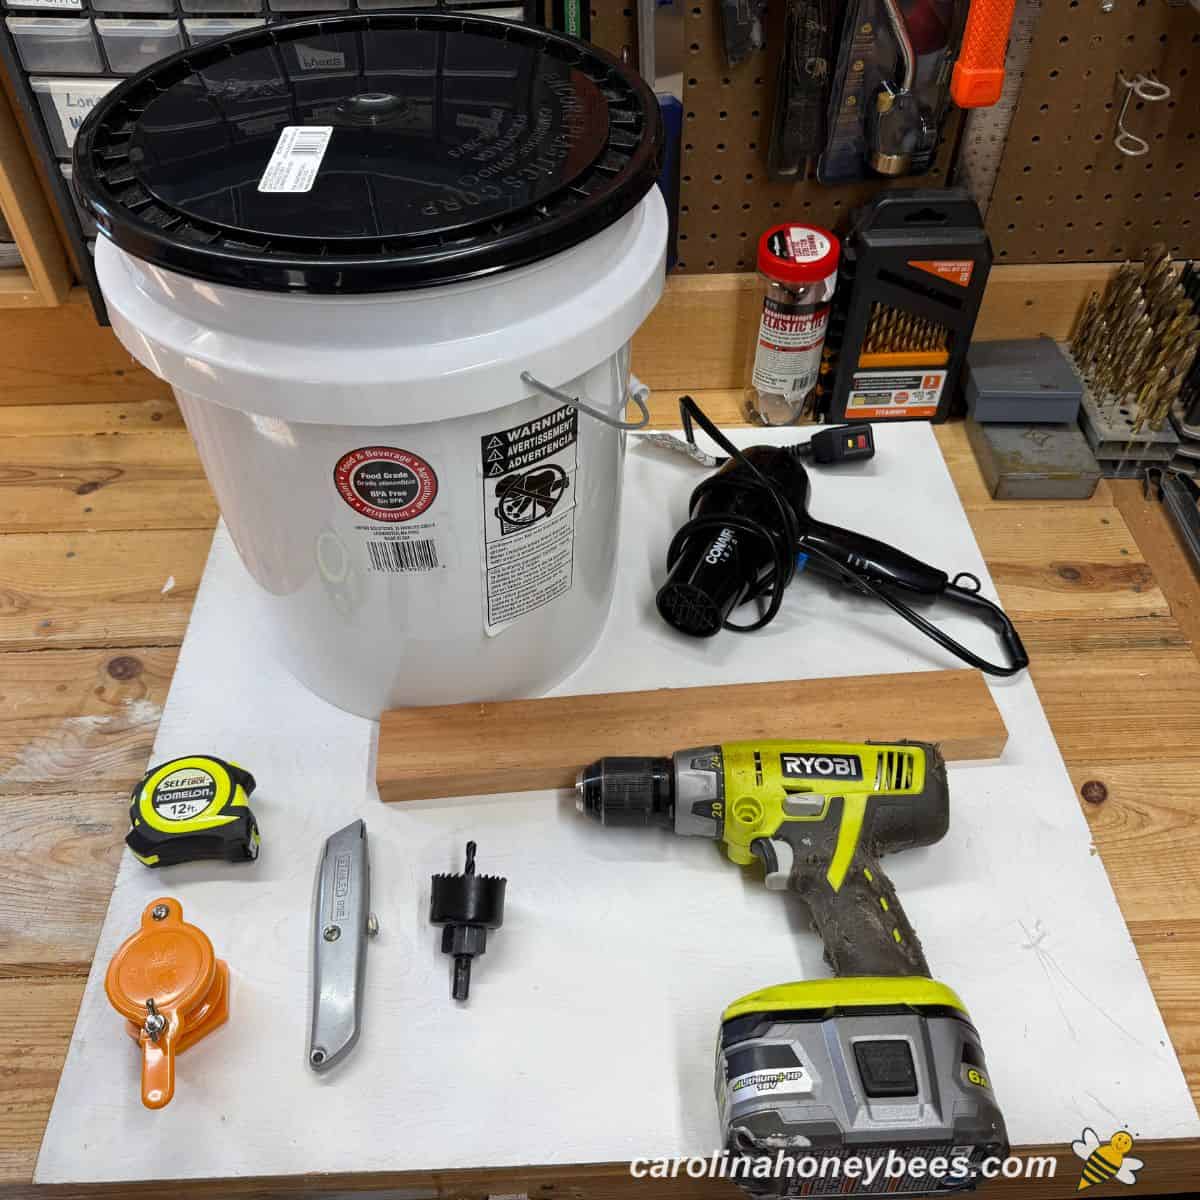
• 5 gal food-grade bucket and lid
• Measuring tape
• Hair dryer
• Drill with 1 3/4″ hole saw bit
• Small piece of wood
• Utility Knife
• Honey gate 1 1/2″
This post may contain affiliate links. Carolina Honeybees earns a tiny commission when you shop from our links. See our privacy policy for terms.
How to Make a DIY Honey Bottling Bucket (Step by Step)
View the “how-to” section at the bottom of this post for detailed instructions. Here is a quick overview before you dig into the full tutorial.
1. Choose the Right Placement
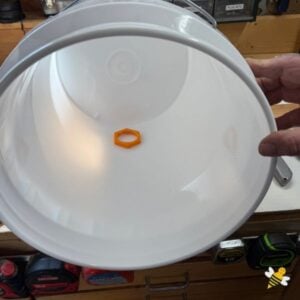
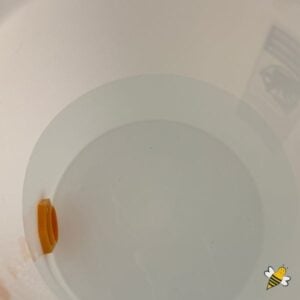
Naturally, you want the honey gate to be placed near the bottom of the bucket. This helps to drain and bottle most of the honey inside. You may have to tip the bucket for the last bit though.
Placement is important because the plastic nut that holds the gate on will be inside your bucket. You must leave enough room to be able to turn and tighten this nut after installation.
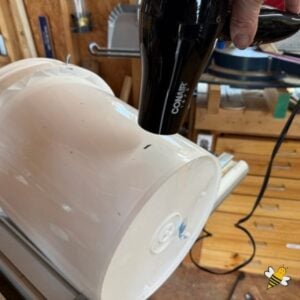
2. Flatten the Bucket Surface
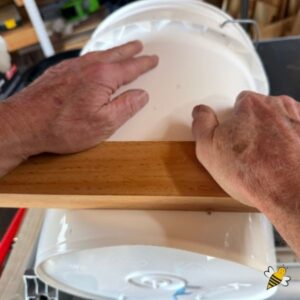
We find that warming the surface of the plastic pail and applying some pressure with a small piece of wood is very beneficial. It helps create a slightly flatter area for the gate to sit.
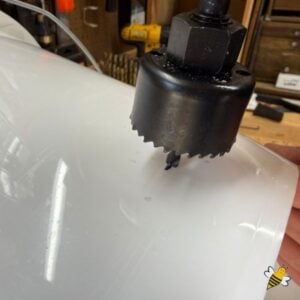
3. Drill & Install the Gate
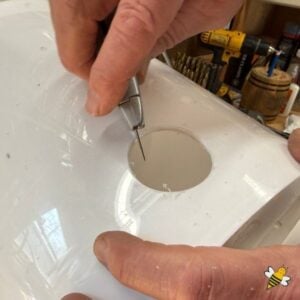
After drilling the hole, be sure to use a knife or similar to remove any burrs or bits of plastic. You want the hole to be as smooth as possible.
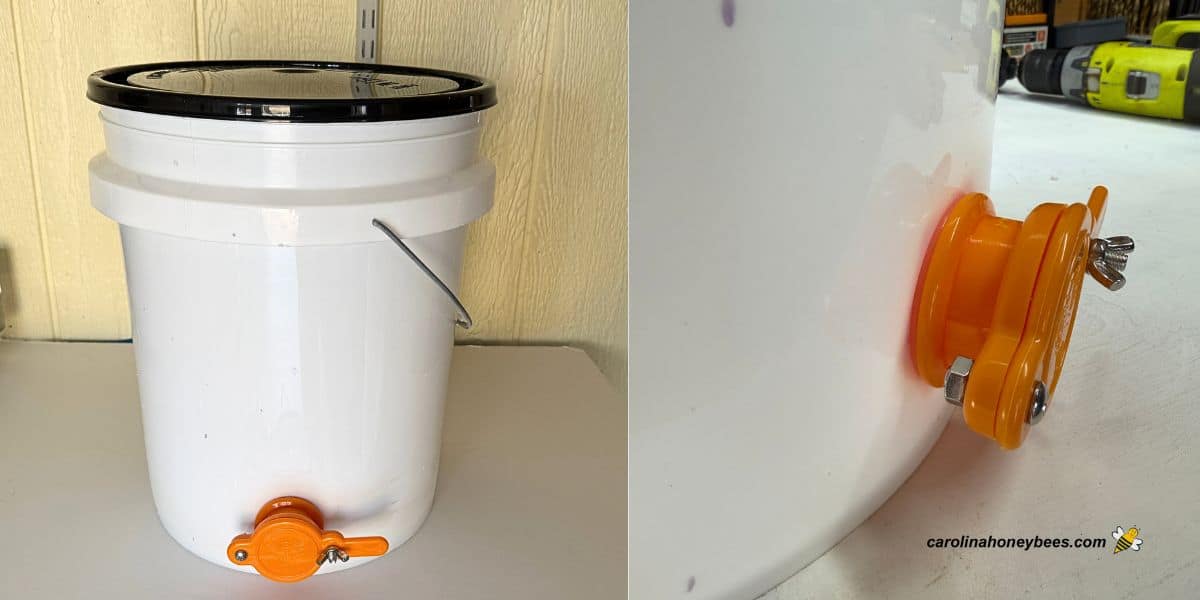
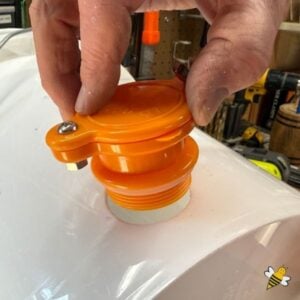
Honey gates comes in different sizes and colors. The most common size is called a 1 1/2″ gate. A plastic nut is used to secure the gate in the bucket wall.
Every gate should also have a rubber/silicone washer – this goes on the outside of the bucket (between gate and bucket wall.
4. Test for Leaks
Once you have firmly attached your gate, it is always best to test it for leaks. I begin with a half bucket of water. If nothing leaks out – I try with a small amount of honey.
Once the tightening nut on the gate is secure, you should not have any leaks. An air tight lead completes the project.
Common Mistakes to Avoid
- Placing the hole too low (no room to tighten the nut)
- Skipping the flattening step (can cause leaks)
- Overtightening the gate and damaging the gasket
- Not testing with water before adding honey
Final Thoughts
You put a lot of hard work into harvesting your honey. Whether you sell honey or give it to friends, it deserves special treatment. Sure you can buy a ready to use honey bottling system – no harm in that. But, if you are interested in cutting some costs – consider making your own. But no matter – always test for leaks before using.

How to Make a Honey Bucket
This post may contain affiliate links. As an Amazon Associate, I earn from qualifying purchases.
Read my Disclosure.Tools
- Power drill with hole saw bit
Supplies
Instructions
- Determine the best position for gate near bottom of bucket – you must leave enough space to be able to turn the plastic nut inside the bucket.

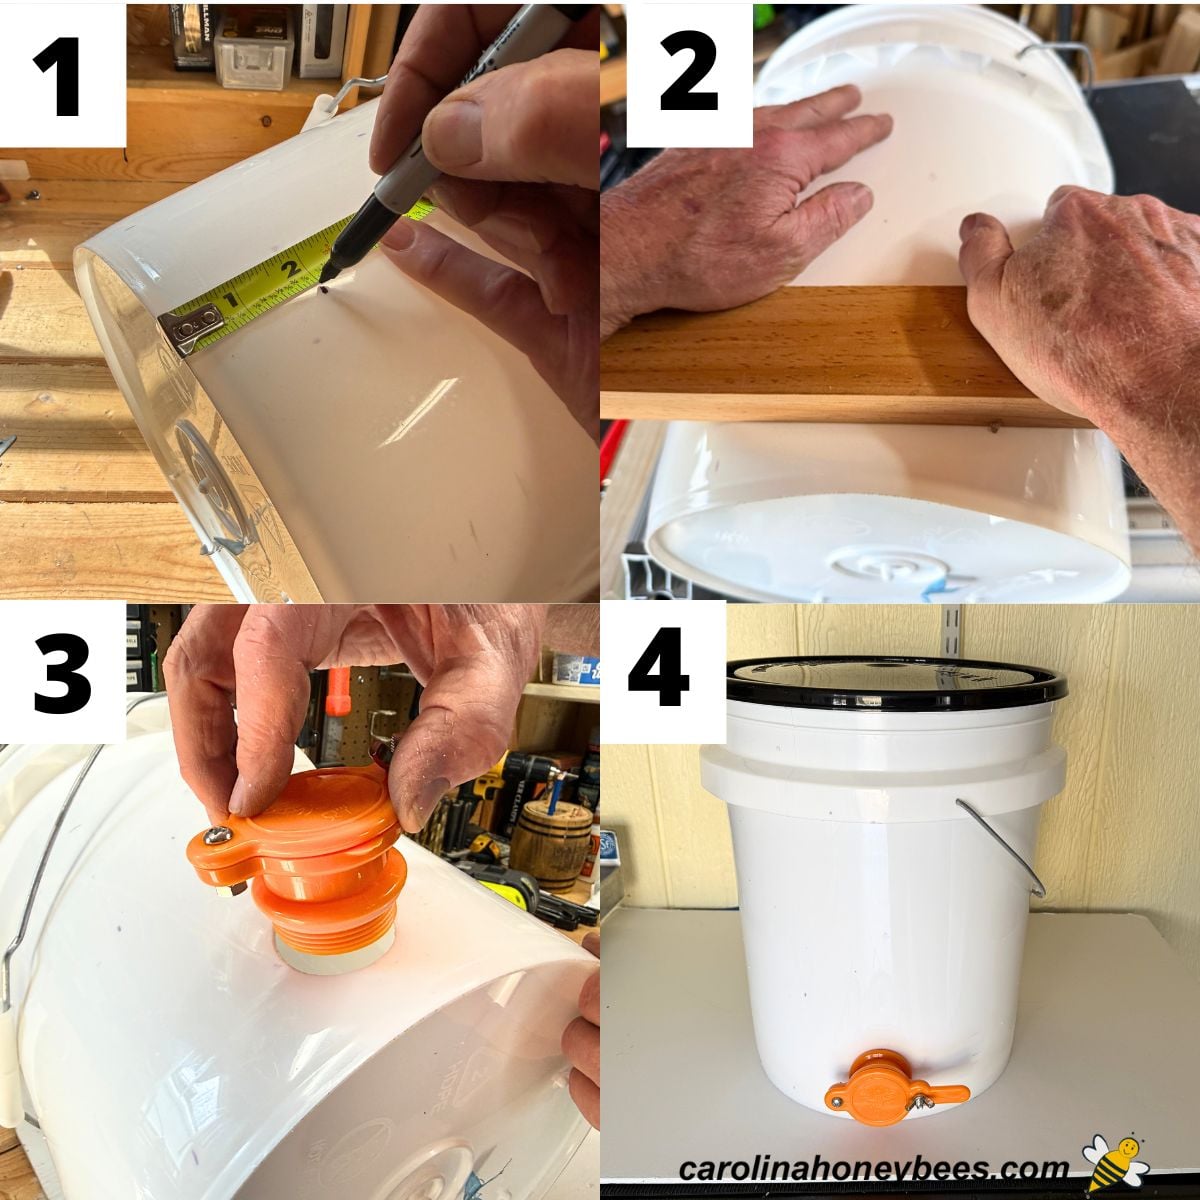
- Use a marker to designate where the center of the hole will be. This is where the bit will start.
- Five gallon bucket walls are rounded. Before drilling, we want to warm the plastic material and create a slightly flattened surface. Use hair dryer or heat gun to heat bucket wall near drilling area.
- While the bucket is very warm (hot), apply pressure with a small piece of board. Hold for a few minutes until the surface starts to cool.
- Use a power drill, and a 1 3/4" hole saw to create an opening at the desired location.
- After drilling, use a knife or similar to remove any burrs and smooth the opening.
- Thread your honey gate into the hole. The gasket goes on the outside with the plastic nut inside the bucket.
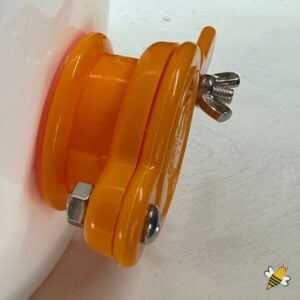
- Tighten the honey gate nut firmly. Make sure the washer is not pinched or wrinkled during tightening.
- Always, test your gate seal with a small amount of honey. Actually, I like to test with a bit of water first. Honey is thicker – if the water doesn't leak out the honey likely will not.
Notes
- It is always best to use a food grade bucket for food products
- Be sure to tighten the little silver wingnut on the gate before adding honey.
- Always test for leaks.
Simple and economical