Crispy Honey Bee Cookies
Looking for a super easy recipe for crispy honey bee cookies? This delightful sweet treat is easy to make and they are cute as can “bee” – pun intended. Similar to regular sugar cookies, the use of honey instead of sugar adds moisture and flavor. Follow me as I share my favorite honey bee cookie recipe and help you create a culinary masterpiece of your own.
For those of us who are “honey lovers”, finding new ways to use honey in baking only adds more enjoyment to the process. And, one of the simplest things to bake is a batch of delicious cookies.
Baking Honey Bee Cookies
Cooks have appreciated the beneficial properties of honey in recipes for a long time. In many cases, honey can be substituted for regular sugar with few changes except for a possible liquid reduction when using larger quantities. As a beekeeper, the use of honey is of course appealing to me.
The only thing better than making cookies is eating them. But, before you do that you need to assemble your tools and ingredients.
This is a simple starter recipe for honey bee cookies that uses no icing. Yes, icing will make them prettier. Honestly, my hand is too shaky and I don’t need the extra calories.
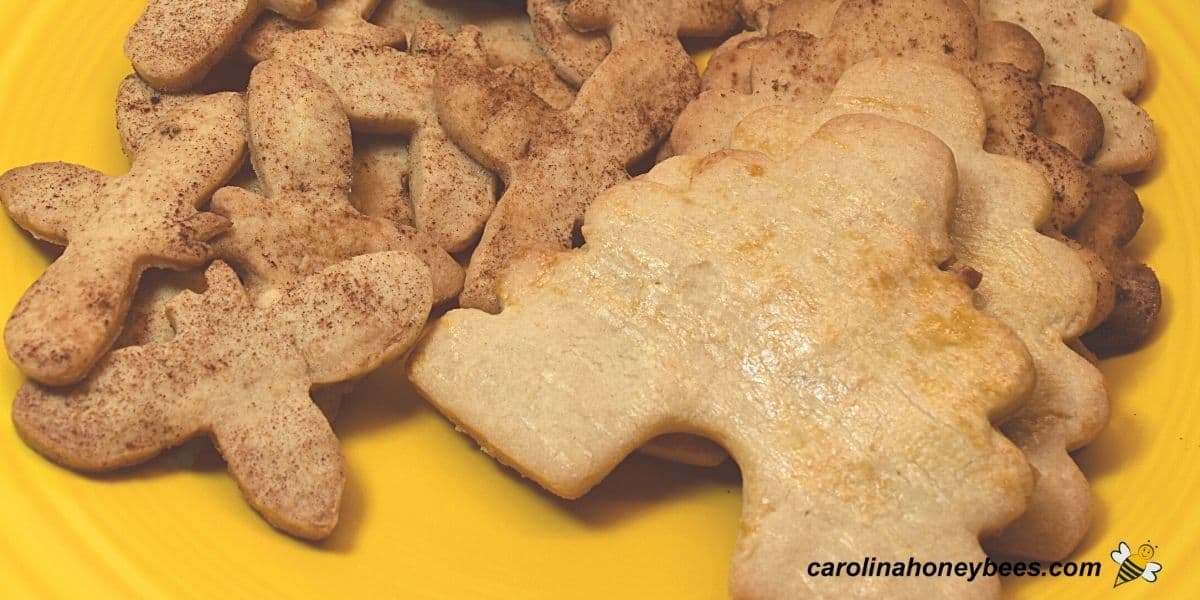
However, if you have the talent – go with it. See what you can create. As my nod to the bee theme, I chose to use cute bee shape cookie cutters. At the end – they are cute and delicious!

Ingredients
But, before we consider fancy decorating tips or enjoying the fruits of our labor, we need to gather our ingredients. Most are common things that you probably already have in your pantry.
- raw honey
- unsalted butter
- egg
- vanilla extract
- salt
- all-purpose flour
Honey
Naturally, we need honey. Any type of honey (as in variety) will do well for this cookie recipe. I always prefer raw honey – yes, even for baking.
Regular Wildflower Honey is a great alternative to regular sugar in most recipes. However, if you have access to a varietal honey such as clover or orange blossom – it will add more flavor to the cookies.
Buying raw honey often means that you are buying directly from the beekeeper. I believe this is the best way to get a pure product. However, you don’t have to find the best honey in the world – what you have on hand will work just fine.
Equipment & Materials
You will need the basic supplies such as an oven, cookies sheets and the tools to chill and roll out your dough as with any cookie making process.
Being somewhat of a honey bee nut – I chose to buy bee themed cookie cutters (link farther down in the post). Of course, you don’t have to use bee shaped cutters – any cookie or biscuit cutter will work just fine.

How to Make Honey Bee Cookies

1. Mix all wet ingredients together (first -blend honey and butter – then add egg and vanilla). Stir until mixed well-but mix slowly do not whip the ingredients. You only want to ensure a good mix of all ingredients.
2. Add flour and salt in small alternating amounts until it is all incorporated into the wet ingredients. Divide the batter into 2 equal portions (I wrap each one in plastic wrap). Use your hand to pat the dough down into a uniform thickness slab.
Now, put it in the refrigerator to chill. Like regular sugar cookies, this recipe requires chilling the dough prior to cutting out. You may need to mix the dough one day and bake the next.
But, chill the dough in the refrigerator at least 30 minutes – and keep the portion of dough you are not working with in there until ready to use.
3. You can certainly cut out regular round cookie shapes and they will taste delicious. However, I love these Ann Clark Bee Cookie Cutter sets. They are adorable.
Prepare a floured surface, parchment paper, silicone mat or other and roll 1 part of the dough to a thickness of approximately 1/4″.
Be sure your dough is thin if you want crispy honey bee cookies. If you roll them out thicker than the recipe suggests, they can serve as a “scone-like” treat.
Cut out your cookie shapes and place on a parchment (or silicone lined) baking sheet. You can sprinkle with cinnamon if desired.
4. Honey cookies can be placed closer together than normal because they do not expand a lot. Bake in preheated 350°F oven for 12-14 minutes until the edges are browning. Cool on baking rack.
Expert Tips
I use a stand mixer to make this recipe but of course a hand mixer works well too. As you are preparing, allow the butter and egg to come to room temperature first.
Your honey should already be at room temperature. When honey is stored properly, it is not kept in the refrigerator.
Of course, you can freeze honey for long term storage but the frig is not a friend to honey – it can promote honey crystallization.

Honey Measuring Tip
Measuring honey can be a bit frustrating due to its stickiness. An easy tip to remember – spray the measuring cup with cooking spray first.
Then, most of the honey will glide out of the cup effortlessly – ensuring you are getting a true measure in your recipe. This can make honey recipes so much easier to create.
Tips for Cutting Out the Cookies
- Prepare a work surface for cookie cutting. A lightly floured silicone mat or piece of parchment paper works well.
- Having dough stick to the surface is one of the most frustrating parts of cookie baking.
- Thinner or thicker is fine but it will affect the end product as thinner cookies are crispier.

More Ideas
If you want to add to your bee themed baked goods, what about some honey bee cupcakes with edible bee decorations. For the young and young at heart, honey bee cake pops are always a hit.
If you are looking for something less sweet to bake with honey, consider these Honey Blueberry Scones for a soft moist scone. A great way to make use of season fruit – strawberries are a good choice too.
Another great choice for a quick breakfast on the run are these Blueberry Honey Oatmeal Muffins.
Love the flavor of peanut butter? Try these Peanut Butter energy treats made with honey and oatmeal – great to keep in the freezer for later and these Peanut Butter Honey Cookies can be made ahead too!
Don’t be afraid to cook up a batch of honey bee cookies and decorate them (or not) to your tastes. They are a perfect companion to a cup of coffee or hot tea (sweetened with honey)– of course.
Did you like this recipe? Please leave a 5 star (⭐⭐⭐⭐⭐) rating in the recipe card below. And, don’t forget to follow me on Facebook and Pinterest.
Crispy Honey Bee Cookies Recipe
This post may contain affiliate links. As an Amazon Associate, I earn from qualifying purchases.
Read my disclosure.Equipment
- mixer
Ingredients
- 1 cup unsalted butter room temperature
- 1/2 cup honey
- 1 piece egg room temperature
- 1 teaspoon vanilla extract
- 1/4 teaspoon salt
- 2 1/2 cups all-purpose flour
- Optional: egg for egg wash or sanding sugar for topping
Instructions
- Beat the butter and honey together until mixed well. This can be done by hand, with a hand mixer or with a stand mixer.
- Add the egg and vanilla extract to the butter mixture and blend well. If using a stand mixer – stir slowly, do not whip.
- Add the all-purpose flour and salt to the wet ingredients. It is easier if you add small amounts at a time. Stir until all ingredients are combined well.
- Divide the cookie dough into 2 equal parts & wrap them in plastic. Push the dough down into a long flat slab. Refrigerate for 30 minutes to chill the dough – or you can leave it until the next day.
- Prepare a floured surface, parchment paper, silicone mat or other and roll 1 part of the dough to a thickness of approximately 1/4". Leave the other section of dough in the refrigerator to keep it chilled.
- Use cookie cutters of your choice. But you can even use a glass jar to cut your dough if you wish.
- Place raw cookies on a cookie sheet lined with parchment paper or silicone baking mats. These honey cookies will not spread out much so you can place them close together if you want – or space them out.
- Bake for 12-14 minutes in an oven that has been preheated to 350 degrees F. The edges should be just beginning to brown when the cookies are ready.Remove finished cookies to a cooling rack and repeat the process for the remainder of dough in the refrigerator.