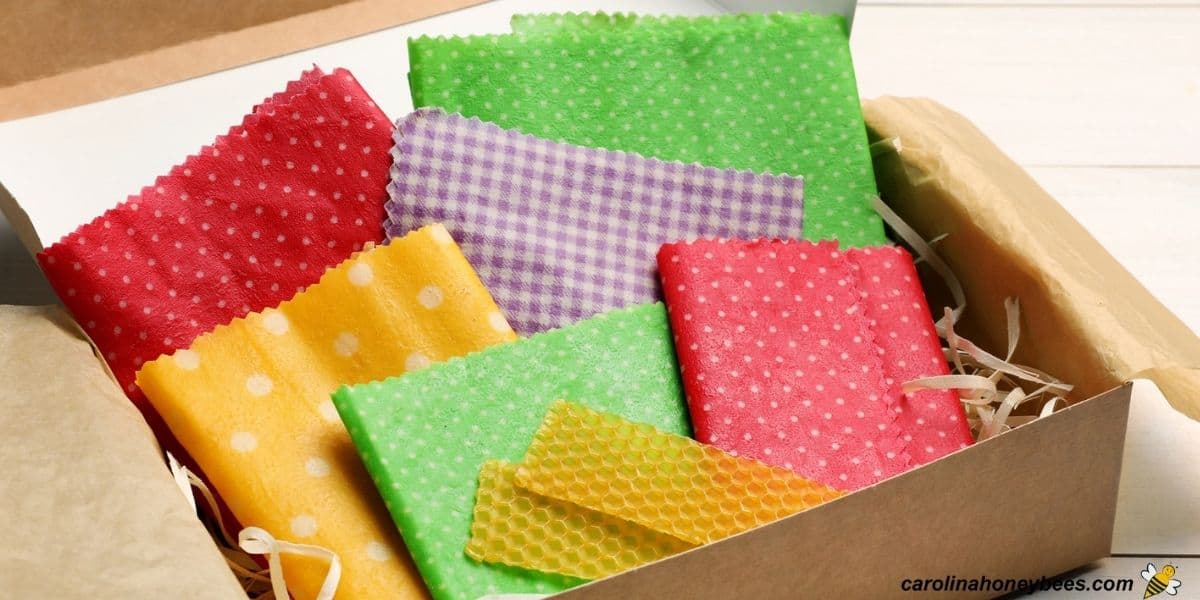
How to Make Beeswax Wraps

One of the most eco-friendly ideas toward sustainable living is making beeswax wraps. Not only is it a lot of fun, it is also an investment in a greener future with less plastic. In this guide, I show you how to make reusable beeswax wraps of high quality that can be used for many purposes. There are several different ways to make them, this recipe is my favorite – it is very simple and does not involve a lot of different materials.
I love making things with beeswax – why? Well, I am a beekeeper so I have a personal relationship with this natural wax. Also, there are so many ways to use beeswax that it fits into many of my crafting desires.
Create Your Own Beeswax Food Wraps
Making things to use in your home is not as hard as you may think. If you can melt beeswax and use a small paint brush – you are on the right track.
Beeswax wrappers have gained popularity for protecting food. They are a great resource for this but they can be used in other ways too. Almost anything that needs protection from moisture or dirt can be placed inside.
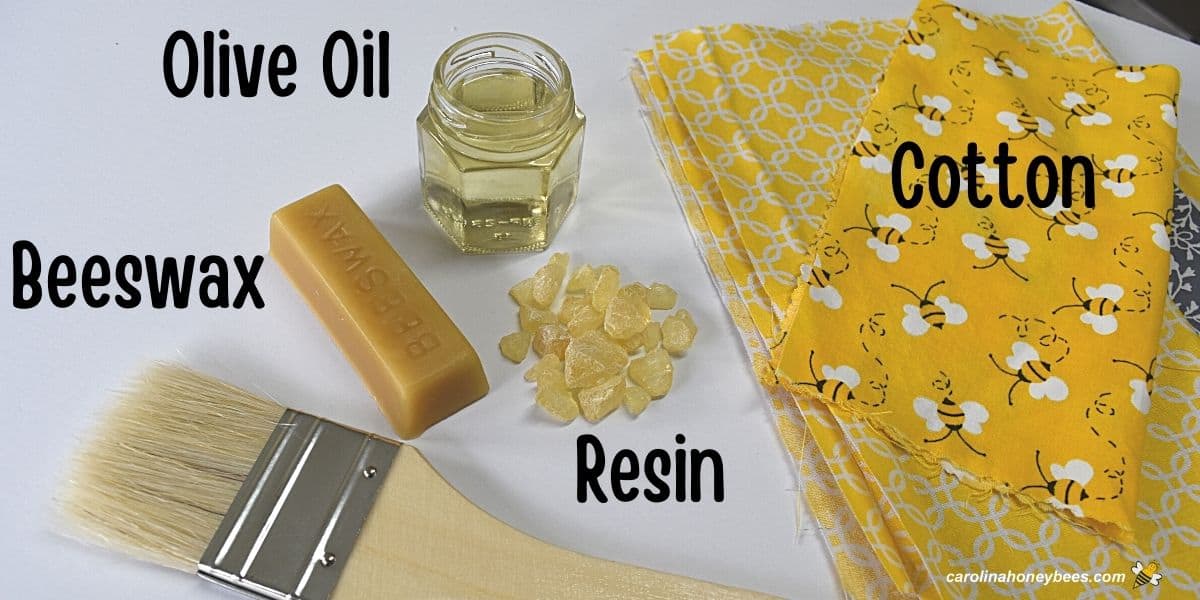
Materials Needed
- beeswax
- olive oil
- pine resin
- cotton cloth
This post may contain affiliate links. Carolina Honeybees earns a tiny commission when you shop from our links. See our privacy policy for terms.
Beeswax
Because this wax comes from bees, it is a natural and renewable resource. And by taking advantage of its adhesive properties it works well in this project.
Beeswax is available for purchase in many different forms. Wax pastilles or beeswax pellets are easy to measure and melt but they do cost more per ounce.
Raw wax in block form works very well. If you use wax from your own hives or buy from a beekeeper – make sure the beeswax is cleaned.
Olive Oil
You will only use a bit of olive oil in this tutorial. It helps to loosen the wax and resin mixture.
Resin
This recipe for beeswax wraps uses resin. You only need a small amount and leftover resin will store well in a sealed container for a long time.
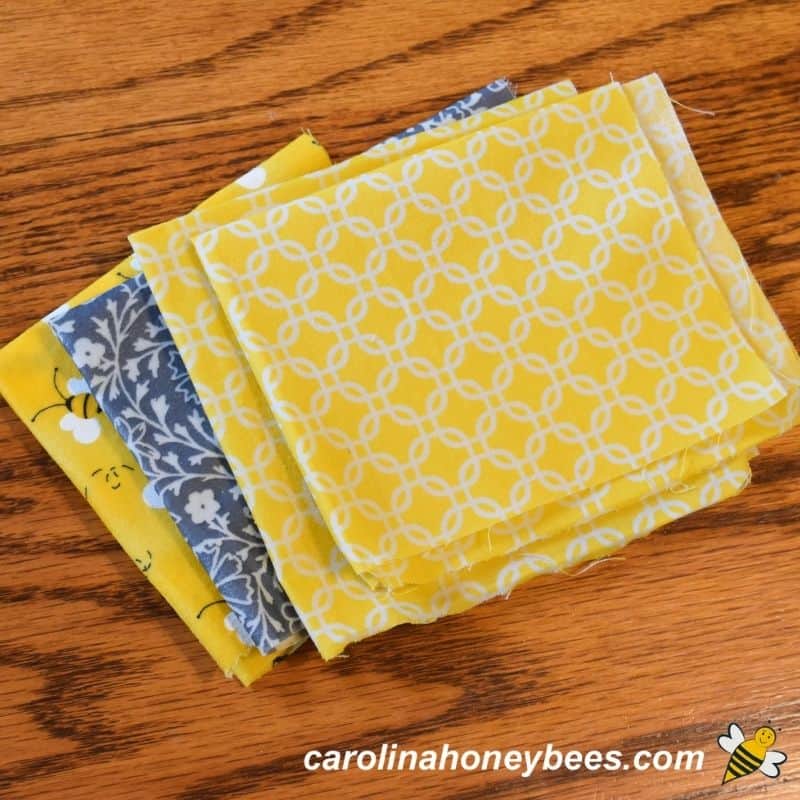
Cotton Cloth Pieces
Thin cotton usually gives the best results when making beeswax wraps. Sheeting material or cotton quilting squares are good choices. Some people buy organic cotton fabric – that is a personal preference.
Your cloth squares should be washed and dried prior to beginning. They can be cut to any size but 10” – 12” is most common. You may wish to make different sizes to accommodate various bowl sizes.
If you have special scissors called pinking shears, these will give your cloth a sassy edging and reduce fraying. But, regular scissor cuts are okay.
Why Use Resin?
Dried chunks of pine resin (pine rosin) are commonly used in making beeswax wraps. They are actual chunks of tree resin that have been cleaned and dried. This is what helps give the wraps could cling.
However, some people do not want to use resin. They choose a recipe that calls for jojoba or coconut oil instead of resins. This too can be a workable solution.
However, if too much oil is used in the recipe (and here again you have to experiment) problems can arise.
Sometimes the wrap fails to cling to the bowl and sometimes it leaves behind bits of coconut oil residue. The choice is yours – perhaps try both and see which you like best?
Equipment & Tools
Minimal tools are needed to make beeswax wraps beyond basic craft tools:
- access to an oven
- double boiler and a heat source to melt the wax
- aluminum foil
- baking sheet
- small paint brush
Step by Step Process

1. Safely melt your beeswax in double boiler set up. One of the safest crafting substances, beeswax will flame if over-heated. Melt slowly with constant supervision.
2. While the beeswax is melting, crush resin chunks into a power and mix with a bit of olive oil. Add this to the hot beeswax and stir continuously until the resin is melted.
3. Line a baking sheet with aluminum foil and preheat your oven to 175° F. Place dry cloth on the pan and warm it in the oven for 2 minutes. This is just to get the cloth warm and ready to absorb the mixture.
4. Use a brush to apply a light coat of the beeswax/resin mixture to one side of your cloth. Place back in the oven for 4 minutes.

5. When you remove the diy beeswax wrap from the oven, look on the back side. It should look dark and wet – showing that the wax has been absorbed into the material.
If you notice any light color or dry spots – brush a bit more wax on those areas and put the cloth back in the oven for 1-2 minutes.
6. Remove from oven and use tongs (or similar) to pick up the cloth by 2 corners. Fan it gently in the air for a minute or so to start the beeswax cooling – then lay flat on another piece of aluminum foil to cool.
Expert Tips
There are many recipes to consider in making diy beeswax wraps. It can be a bit overwhelming. Which one is the best?
Ultimately you will need to experiment- because each recipe has various levels of “cling” depending on the exact ingredients used.
Those that have more cling may be a bit sticky in warm weather. You have to decide which qualities are most important to you and adjust the ingredient ratio from there. Humidity and temperatures can affect how well the end product works.
Troubleshooting
If you live where it is hot and humid, you may need a bit more oil or resin. People in cold climates may use less. It is really a matter of personal preference after you obtain a workable product.
Here is a tip to keep in mind when you are making your first beeswax wraps. Don’t make a lot of them on your first attempt. The creation process is fun. Just be prepared for a bit of recipe tweaking.
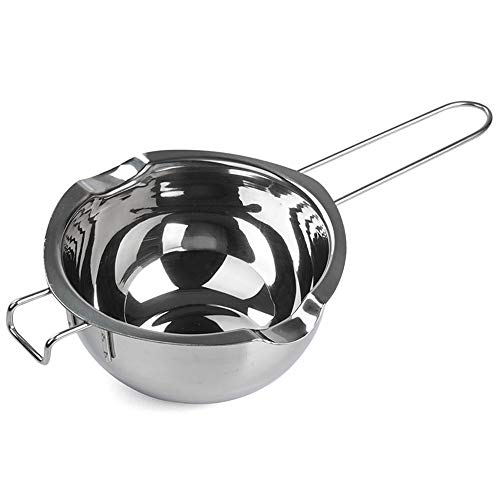
Using a double boiler is the safest way to melt beeswax. It can become overheated and cause a fire.
If you choose to use the microwave, use short bursts of time and do not leave it unattended. Otherwise, you may be left with a big mess to clean up.
This post may contain affiliate links. Carolina Honeybees earns a tiny commission when you shop from our links. See our privacy policy for terms.
For most wax projects – these little pots are the absolutely best way to melt beeswax using the double boiler method. Worth every penny.

How to Use
Once the cloth has cooled, it is ready to use. Place it on top of a bowl, and gently form a seal by pressing down around the edge. Work slowly as the heat of your hand helps soften the wax.
This forms a natural seal much like cling wrap or regular plastic wrap. Naturally, not every food storage task is suitable for these reusable wraps. Do not use them for meats, raw or cooked, or things that are gooey.
You can shape them into snack bags by sewing on a button. Or use them to wrap a sandwich or a block of cheese.
A favorite way to use them in the kitchen is as simple bowl covers. They stay very clean, and yet keep dust and (nosy cat noses) out of things I have left on the counter.
They can be gently cleaned with a damp cloth, cold water and mild dish soap. But, if you wash them regularly, you will have to reapply your wax mixture sooner. Yes, you can refresh older ones. Also, don’t use hot water to clean your homemade wraps.

FAQs
Using wax alone to make food wraps can work to a degree-but it is not ideal. You will have cracking when actually using them on anything. Also, it will be rather stiff when cool and not as pliable.
The most common size for DIY beeswax wraps is 10″ – 12″ square – but of course you can make them any size you wish.
After a while, (how long depends on many factors), your beeswax wraps will need to be replenished.
This can be as simple as reapplying the beeswax, resin mixture but it is a maintenance task to consider.
More Ideas
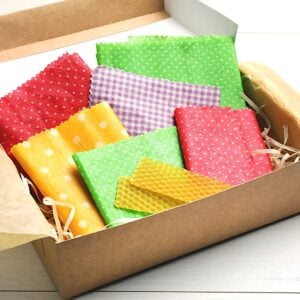
Make some homemade beeswax wraps for gifts using material related to the recipient’s interests. For teachers, choose cloth with school designs.
If you have a favorite music instructor, cloth with notes would be cool. Use fabric with bees and make a very, special bee gift for a new beekeeper.
Now, if you have a bit of wax left over… here are a couple of really neat small projects.
Try some beeswax wax melts or herbal beeswax sachets to freshen up your home. They are all natural and lack some of the gnarly chemicals you find in other products.
Or another cool idea for the kitchen – try some beeswax spoon butter to use for rejuvenating your wooden wear. It makes great inexpensive gifts too. A new wood spoon set and a jar of homemade spoon butter – yes please!
Final Thoughts
The process to make beeswax wraps sounds so simple – and it is to a degree. When I made my first ones, I thought why not just brush the wax on my cloth. Well, that didn’t work well. After the wax cools, it cracked when I shaped the material.
This is a very creative natural craft project. I mean – we are using raw beeswax and pine resin – you can’t get much more natural that that!
And, if you want to really get into your creative vibe – use different colors of cotton fabric to match your kitchen décor or that of a friend.
Beeswax Wraps Recipe Tutorial
This post may contain affiliate links. As an Amazon Associate, I earn from qualifying purchases.
Read my Disclosure.Tools
- scissors
- aluminum foil
- baking sheet pan
- small paint brush
Supplies
- 4 pieces cotton cloth squares cut to desired size – 10"-12" most common
- 50 grams beeswax
- 10 grams pine resin
- 1.5 teaspoons olive oil
Instructions
- Measure beeswax by weight and place in a double boiler insert. I always use weight (by grams) to measure materials when using my beeswax recipes. You may purchase beeswax pastilles. They are easy to work with and measure.However, if you buy a block of raw wax from an area beekeeper, it is easy to break into chunks as well.

- Measure and grind pine resin crystals. Resin helps make the cloths slightly sticky. If they end up being “stickier” than you prefer, use less resin next time.The chunks of resin will melt in the beeswax but very slowly. For faster melting, wrap the pine resin chunks in a cloth and beat them with a hammer.This will reduce the resin to powder form for faster melting. Pour resin into the melting beeswax and stir well.
- Now we are ready to add a bit of oil. I use Olive Oil because that is what I have on hand. Other crafters enjoy using Jojoba oil or even coconut oil. Measure and pour the oil into the melting pot. Keep the heat at a medium to low level and continue to slowly heat the mixture until everything is liquid. Stir well as the pine resin will tend to clump at the bottom. When all is melted and mixed well, it is time for the next step.
- Preheat your oven to 175 ° F.Line a flat baking sheet pan or cookie sheet with aluminum foil. Place a cloth square on the pan and place in the oven for 2 minutes.Warming the cloth helps it absorb the melted beeswax mixture. The heat of the pan prevents the wax from cooling too quickly. After 2 minutes, remove from oven – using an oven mitten.
- Brush Beeswax Mixture on ClothPlace the warm pan on a heat safe surface that you have covered with aluminum foil. (for easy clean up).Use your brush to paint a light coat of your recipe on the cloth. Do not put too much, we only want just enough to coat the surface. Only paint one side.
- Place your pan (and cloth) back in the oven for 4 minutes. Then, remove and carefully lift up the edge of the cloth.Does it look wet or dark on the back? If not, lightly brush more of your mixture on the spots that look dry and place back in the oven for a minute or two.If the back of the cloth looks damp and saturated, it has enough wax. Using tongs or your fingers if not too hot, lift the cloth straight up by 2 corners.Gently fan it in the air for a minute or two. The beeswax will set quickly. Then you can lay the beeswax wrap down flat on a piece of aluminum foil to allow it to cool.


hello, how do you manage to dissolve pine resin?
When it is especially hard – I put mine in a very heavy piece of plastic and pounded it with my hammer. Then after adding – gently heat and stir, stir, stir.
My beeswax wraps came out great however the smell of the pine gets into the food, not good. I bought what I thought was food grade. Can you recommend a brand of pine resin that does not smell like pine?
Hmm, sorry to here that Mary. I’ve never had that problem. The resin that I have came from Etsy. You might talk to a supplier there.
With all the DIY I do, you would think I would have heard of this before. Nope, never heard of this, HOWEVER, that is a thing of the past thanks to your post. Thank you for coming across my Pinterest.
How cool. I use mine for lots of things – not always use them for food.They make a nice little waterproof (or resistant) pouch for small items when we are on the boat or similar situation.
Have had mixed results with resin which does not fully dissolve in beeswax. I can stir until kingdom vome and it merely turns into a sludgelike glob. Any suggestions?
Hmm, sorry to hear that – I had no problem with my resin – it was a bit slow but it dissolve. Perhaps trap resin from another source if you have not already. Best of luck.