Boot Waterproofing with Beeswax
Waterproofing leather boots with beeswax is an age old technique. A great way to breath some new life into your old hiking boots. Learn how to use this special wax is to keep your feet drier and breathe some new life into those old work boots.
The use of beeswax to repel water from materials such as belts, tents, backpacks, and yes – footwear-has a long history. You will find it listed as an ingredient in many commercial waterproofing products. So, what we are doing is nothing new – it has withstood the test of time.
Beeswax Waterproofing for Boots
And, it is not only leather boots that benefit from an application of wax – you can do the same with many canvas sneakers too.
But, before your go wild waxing up all your expensive footwear – you need to understand a bit more about the outcome.
You need to know that the application of wax can change the appearance of the shoe surface. The degree to which this happens depends on the type of boot material – and how much you apply.
Keep in mind, our goal is to protect our feet – not make a style statement. The color of the shoe may darken after waterpoofing with beeswax.
Maybe you are hesitant to do this with new boots-I would be (though it would work). However, it is an excellent way to keep your toes dry inside older boots used around the farm or on the hiking trail.
Why is Beeswax Waterproof?
The natural water repellency properties of this wax from bees are very evident when applied to materials using a little heat.
When it is rubbed onto the surface of materials such as leather and then heated, some of the wax works deep into the fibers or fabric of the material.
Beeswax is not water soluble – it does not dissolve in water. This means it blocks moisture from being able to penetrate your shoe leather.
It protects in the same way that beeswax is used in hair care or natural DIY face moisturizer. It helps seal by locking moisture in or out of the surface. The same process works using beeswax for skin products.
Of course, this waterproofing boot treatment doesn’t last forever. If you wear your boots a lot in wet dirty conditions, you will need to reapply beeswax at some time in the future.
This post may contain affiliate links. Carolina Honeybees earns a tiny commission when you shop from our links. See our privacy policy for terms.
Materials:
Other than the beeswax, you only need a few materials or tools that you likely already have on hand.
- hair dryer – heat source
- small bowl
- soft cloths
- small brush – toothbrust
- beeswax
The most inexpensive way to purchase wax is from a beekeeper. They usually offer raw beeswax for sale in pound quantities. You may or may not have to clean or render the beeswax.
And of course, you can buy it online. Beeswax pellets are easy to use and easy to melt but you do pay a bit more for this convenience. If you only need a small amount, this is no big deal.
I prefer using blocks of natural beeswax only because I can more readily tell that they are pure wax without additives.
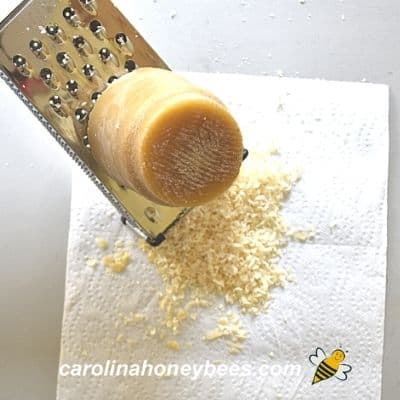
If you buy a block of wax from a beekeeper, you can carefully use a kitchen grater to shave the larger block into smaller pieces. This makes the wax easier to melt.
Quick Tip on Melting Your Beeswax
You can melt a small amount in either a double boiler or use a can set in a pot of water to simulate a double boiler. This is the safest way of melting beeswax.
For those of you who do not wish to use the double boiler method, you can use a microwave to melt it.
However, remember that beeswax is flammable if overheated. You must melt it slowly in small increments of time and do not leave it unattended.
Beeswax is easy to work with but it is not easy to clean up. Most crafters have dedicated pots, bowls or spoons to use when working with wax.
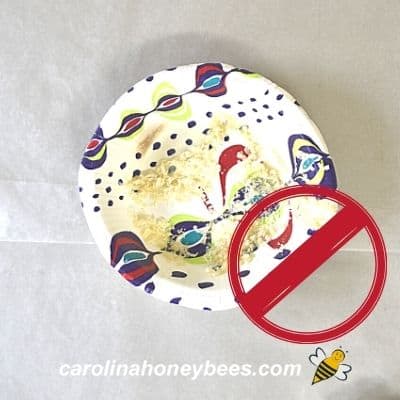
A disposable bowl may be a useful tool for melting your wax for this project. But, be sure you do not choose one that is wax-coated…LOL Duh, I didn’t really think that would work did I? Oh well, I was in a hurry.
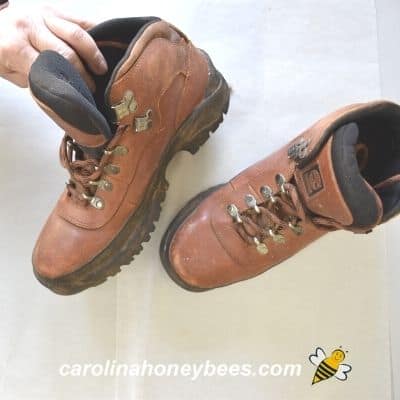
Prepare Your Boots
If your boots are anything like mine, they have some dirt encrusted here and there. Clean the outside surface of your boots thoroughly.
They do not have to look pristine (I think mine have a few paint specks). However, be sure to remove any loose dirt from the entire boot.
If you use a damp cloth to clean the boots, they must be allowed to dry before proceeding. Beeswax must only be applied to boots that are completely dry or it will not adhere properly.
Expert Waterproofing Tips
As with any project, it is a good idea to try this on a small spot first before you coat the whole shoe. Even though it works well with many surfaces, it is best to test .
This waterproofing treatment should keep your hiking or leather work boots dry for a while. But, if you get them really wet and dirty you may have to repeat the process in the future.
This is a great way to get improve the longevity of those old boots and make them more water resistant. A beeswax leather polish will help keep any leather goods more durable for a much longer time.
You may find that this application offer some protection from stains too. Grease and other types of debris are less likely to stick to the leather.
But be cautious with a suede boot as color changes may occur. Be sure to cover the entire surface of the boot that will be exposed to water.
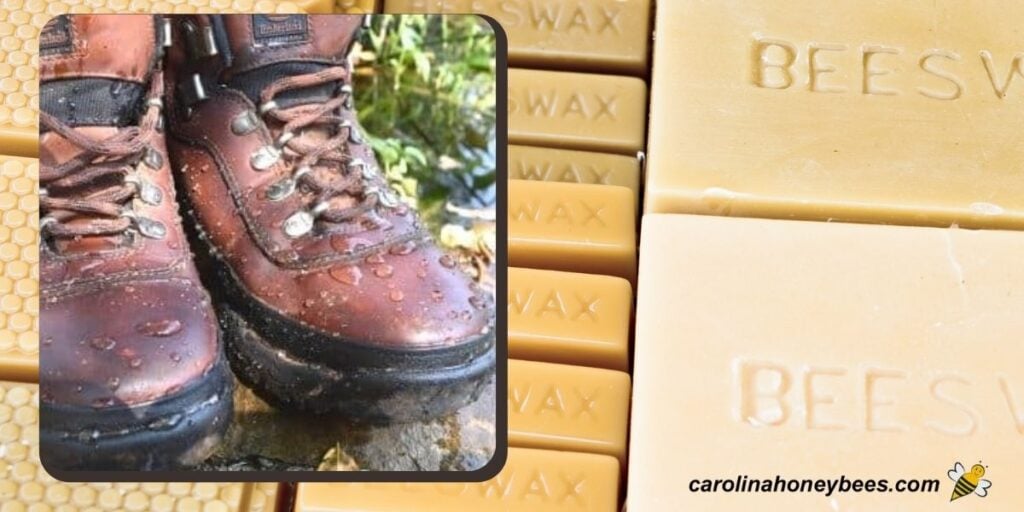
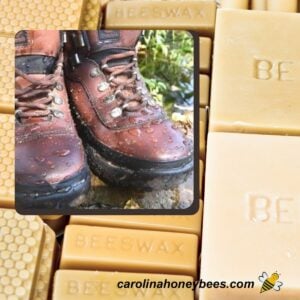
This natural waterproofing agent will help keep your toes dry on the wettest days. Mine look so good sitting out by the pond – I can’t wait for the next rainy day!
FAQs
Yes, it can be a good conditioner for leather and prevent hardening and drying out. But, it should be applied lightly.
The length of protection for your boots depends on the conditions in which you wear them. A lot of rain and mud will wear off the beeswax faster – but in general – a yearly application is good.
No need to polish before using beeswax to waterproof. Just make sure your boots are dry and you have cleaned off all the loose dirt etc.
In Conclusion
This simple project is an easy way to get some extra use out of those old comfortable boots. Reapply when needed but only put a thin coat of beeswax on your boots each time.
By the way, now that you have a little beeswax on hand, don’t waste it. It can be used in many homemade beeswax soap recipes.
You can even use beeswax in sewing projects – such a cute little gift. Do you have any wooden bowls or spoons? Natural beeswax spoon butter is a perfect match.
**This blog is for entertainment and/or informational purposes only – see privacy policy and disclaimer for more info.
Beeswax Waterproofing for Boots
This post may contain affiliate links. As an Amazon Associate, I earn from qualifying purchases.
Read my Disclosure.Tools
- heat gun (or hairdryer)
- small bowl
Supplies
- 2 oz beeswax
- 3 pieces tshirt material – soft cloth
- 1 piece old toothbrush
- 1 pair leather boots
- 2 pieces paper to protect counter
Instructions
- Warm the Boots : Prepare your surface with some type of paper underneath to catch drips. You can use aluminum foil, wax paper, or even paper towels for easy clean up.If the weather is cold, warm the boots up just a bit before applying wax. This is to help the wax adhere to the shoe surface.

- Safely melt beeswax: Melt a small about of beeswax in a suitable container. The container should have an opening large enough to dip a cloth or brush into.Normally I always melt beeswax in a double boiler but you only need a small amount.If you use a glass measuring cup (like I did) in the microwave, have a pot holder handy because that handle gets hot!!
- Apply wax to boots: Once the beeswax is melted, apply wax to one boot at a time. You can use a small piece of cotton t-shirt material or similar clean cloth. Just dip a corner into the wax and rub it onto the leather.Try to apply an even coat. I like using a small paint brush, tooth brush or any soft brush – better than a cloth because I feel like I have more control.
- Rub wax into leather surface: As the wax cools, your boot will take on a white appearance. That’s okay – it’s not going to stay that way. Continue until the leather surfaces of both boots are coated with beeswax. Be sure to coat every part of the boot paying special attention to the toe and heal area. Use a toothbrush or q tip to work the wax into the seams of the boot. Don’t miss any of the cracks or crevasses.
- Seal wax with heat: Now, we want to seal the wax into the boot leather. This is done by applying some extra heat. Using a hairdryer is one safe method of sealing the wax. However, using a heat gun is much better.The heat gun is easier to work with because you only have heat coming out of it not a strong force of air.Most heat guns have a high and low setting and you may be surprised at the other uses you will find for them around the house.
- Heat and Buff: As you work with the heat gun, take care. You do not want to overheat the shoe. Keep the heat source several inches away from the shoe leather. Use a clean soft towel to buff away the excess wax. Heat a small section of the boot, then use a circular motion to rub the wax into the leather. Repeat until you have worker over the entire leather surface of the work boot.


