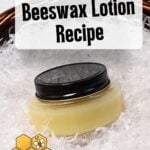
Easy Beeswax Lotion Recipe
You may be surprised at how easy it is to make a simple basic lotion with beeswax at home. This natural wax is a common ingredient in many health and beauty recipes. When you make your own, you ensure the integrity of the ingredient list – you know what your lotion contains. Here, I share with you a beeswax lotion recipe that is easy to make and effective.
Of course, the uses of beeswax in health and beauty products has long been known to have benefits. From skin care, to candles and more – you are sure to find many opportunities to create special homemade items.
Homemade Lotion Recipe With Beeswax
The products we buy are often quite expensive – nothing is cheap anymore. You may be able to save money with homemade products rather than purchasing ready made commercial items.
And because the cost is less, you can experiment with different recipes, fragrances etc. This lets you tweak the end product to have those qualities most important to you.
There are many DIY lotion recipes out there. It can be very overwhelming. Each one is very similar, but the exact ingredients vary just a bit. Why so many variations?
Well, there are a lot of opinions on exactly how a homemade lotion should feel. A recipe that one person thinks is luxurious may feel heavy or greasy to someone else.
Plan to experiment a bit with any recipe until you get the consistency you desire. That is one of the beauties of working with these natural ingredients. This basic example will help you get started.
This post may contain affiliate links. Carolina Honeybees earns a tiny commission when you shop from our links. See our privacy policy for terms.
Ingredients Needed
This beeswax lotion recipe includes beeswax (of course) and a mixture of oils and butters. Here are the ones I use.
- beeswax
- coconut oil
- sweet almond oil
- shea butter
- vitamin E oil
- containers of choice
- scent – optional
Beeswax
Beeswax is made by honeybees and used to build their comb. It is popular in the cosmetic industry – it helps hold in natural skin moisture. This is a major reason that using beeswax for skin care is so common.
Thousands of commercial products contain a percentage of beeswax – even makeup. And, beeswax can be used for hair care too.
Before proceeding, be sure you have clean wax. Either purchase ready to use wax block or beeswax pellets or learn how to clean raw beeswax.
Of course no lotion recipe could contain only wax, the end product would not spread over your skin. Wax is solid at room temperature, we need to add some liquids to the mixture.
In this recipe, combing beeswax with other moisturizing oils, produces a soft, silky product that glides well. We are searching for the perfect consistency.
Coconut Oil
I love working with coconut oil. It can be ordered from an online store or you can find small containers in your local grocery.
An amazing fact about coconut oil – it is liquid at warm room temperature but becomes a semi-solid in cool temps. In addition to helping with lotion consistency, coconut oil is good for the skin.
Sweet Almond Oil
Sweet almond oil make the beeswax lotion recipe special. Well know for its anti-inflammatory and emollient properties, Sweet Almond oil is safe for skin use in most people – I often use it in my beeswax lip balm recipe.
Allergy alert – if you have an allergy to tree nuts – I would use Olive Oil instead!
Shea Butter
Shea butter is a seed fat that comes from the shea tree. It is a great moisturizer and is used in many body care products.
Considered safe for most skin types – if you have an allergy to latex – allergic reactions are possible. Consult your dermatologist before use.
Vitamin E Oil
Another popular ingredient in homemade body care products is vitamin E Oil. Keep a bottle on hand. Adding only a few drops to body care recipes can prolong the freshness of the oils. However, it is optional.
Containers
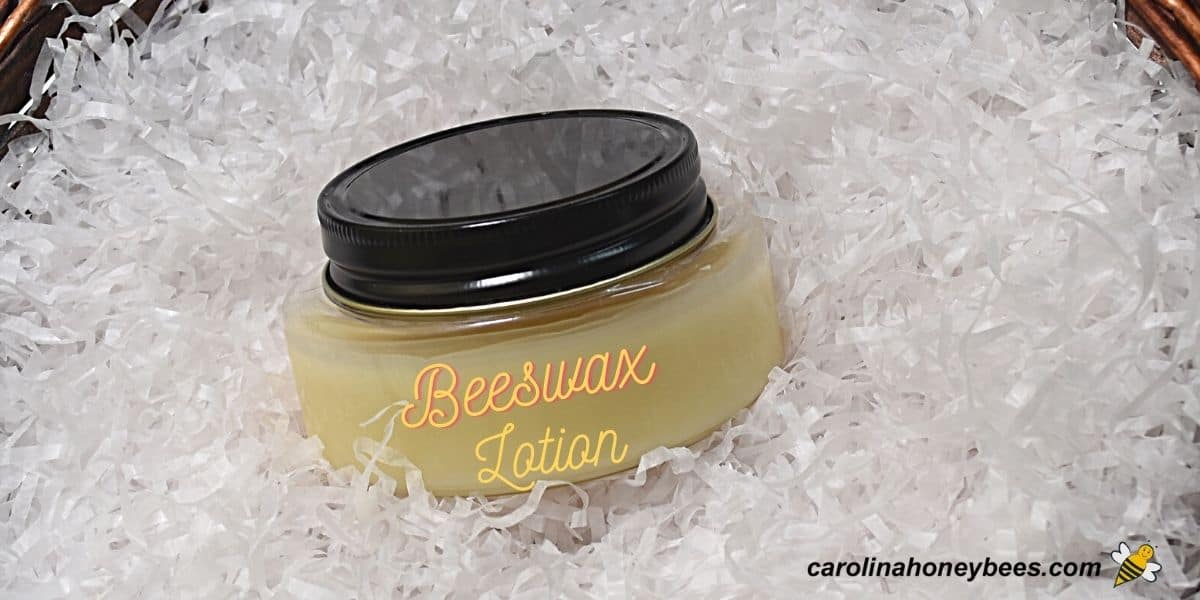
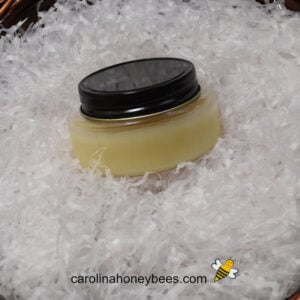
You do not need a special container for lotion. Remember this recipe will likely be just a bit thicker than many commercial products. I just use a small glass jar with a tight sealing lid.
However, you can find many options to buy including these DIY lotion jars. I like the small size with a large top opening.
Using Scent or Fragrance in Lotion
When choosing a scent for your lotion, be sure to use skin-safe products. Many essential oils are suited for lotion recipes – check the labels.
You can also buy fragrance oils that are designed for bath and beauty products if you prefer. And, of course, it is perfectly okay to use none and have an unscented lotion. In fact, I often omit added fragrances for personal use.
Step by Step Guide for Making Lotion

1. Melt your measured ingredients in a small double boiler. The beeswax melts slower so I start with it first, then add the shea butter, coconut oil and sweet almond oil. Stir to combine.
2. Remove from heat and let cool a couple of minutes before adding a few drops of vitamin E oil and fragrance oil (if desired).
3. Ready your containers. Squeeze bottles or wide rim containers work better for beeswax lotion recipes. Pour into individual containers and let cool.
4. Once the product is cool and set into a thick liquid state. It is ready.
Storage
When choosing containers for your beeswax lotion, you have many options. Plastic containers or glass jars with a wide mouth and not too deep are suitable.
The texture of your homemade beeswax lotion will be firmer than petroleum jelly but not as hard as a lotion bar.
Be advised, this mix is too thick to pump through a regular lotion bottle. It is a wonderful hand lotion for dry skin.
Store in a sealed container. Because it has no water, it will last for several months without spoiling. This is a good shelf life for a homemade lotion product.
Expert Tips
The defining characteristic of lotion is that it is “a light weight product that absorbs into the skin quickly”. In most cases, you make a lotion by combining water and oil with an emulsifier. The final product “rubs in” quickly.
While quick absorption is a great thing, there is a downside to homemade lotions. Products with higher water content are more likely to spoil.
But, this lotion recipe uses beeswax, and has no water. It will keep longer without spoiling than some homemade lotion recipes. Keep that in mind when you are creating your favorite blend.
Variations
Start with a small batch for the first trial – just in case you need to tweak the recipe a bit. You don’t want a big batch of something that is not right for you.
In this recipe, we are using a combination of coconut and sweet almond oil. However, you can substitute other oils for either of these if you wish.
Common oils used include: Avocado Oil, Sunflower Oil, Jojoba Oil and Olive Oil. A few people are even allergic to honey or hive products. How awful – but it does occur.
This is especially important when you have family members with allergies. If you have an allergy to one particular ingredient, it is easy to substitute another.
More Ideas
There are many ways to pamper your skin with DIY beauty products. If you want a more portable option – try these DIY beeswax lotion bars. A great portable moisturizer to take along.
Another simple product to keep on hand is a type of natural “Vaseline”. Yes, you can make your own petroleum jelly with beeswax and a little oil.
Other options include this tutorial for honey & beeswax face moisturizing cream and for a heavier body moisturizer – beeswax body butter.
FAQs
Homemade lotion can be better than commercial products because you can use all natural ingredients and customize the lotion to have the properties and consistency you desire.
The ratio of beeswax to the other ingredients will be quite small because beeswax is solid at room temperature.
It can be cheaper to make your own lotion. Most lotion is near 50% water. If you choose the oils and butters carefully – you may save money with DIY lotion.
A Final Word
Learning how to make this beeswax lotion is a great way to protect natural skin moisture. It is a medium weight lotion and you should only need to use a small amount.
For more intense moisturizing – try my beeswax balm for cracked heels. When you make your own products – you are taking control of your skin care.
If you’d like a richer, creamier option, you might also enjoy my whipped homemade body butter with beeswax.
DIY Beeswax Lotion Recipe
This post may contain affiliate links. As an Amazon Associate, I earn from qualifying purchases.
Read my Disclosure.Tools
- small bowls
Supplies
- 46 grams coconut oil
- 20 grams beeswax
- 92 grams Sweet Almond Oil
- 5 gras shea butter
- 1/2 tsp vitamin E oil
- 1/2 tsp Essential Oil (I used Lavender) optional
Instructions
- Melting beeswax and adding oils. Using a double boiler, melt the beeswax, coconut oil and shea butter. This is best done in a double boiler or boiler insert instead of the microwave.We want to slowly melt all the materials. The beeswax will be slowest to melt. Do not leave unattended – stir occasionally.

- Stir in Remaining Oils: Once the beeswax is melted, it is time to add the sweet almond oil. Again, let the oils warm for a few minutes and stir well.Once everything is combined, remove the top pot from the double boiler set up. Now you can add the vitamin E oil and any essential oil that you wish.Essential oils are strong. Read the manufactures instructions for the amounts that are safe to use for skin products.For this recipe, I use only a small amount of Lavender essential oil (approx 1/2 tsp) – you may choose a different oil. In general these are often used in skin care: Lavender, rose, frankincense, geranium, tea tree, ylang-ylang, and patchouli
- Pour into your container. [This recipe makes a small jar but you can double the amounts for more. Just keep in mind that homemade lotion without extra preservatives should be used within a shorter time.]After a quick stir, we are ready to pour the finished product into storage containers.If you are using plastic containers that may not be able to stand up to the heat – allow your mix to cool for a few minutes. After cooling for an hour or so – your beeswax lotion is finished.


I like the way this lotion makes my skin feel. However, it takes a long time to blend into my skin and not have my hands very oily. Is there anything I can add to help with this? Also, do you have recommendations on preservatives to help it last longer? I would assume that it would only last about 6 months before it starts to not smell so good. Thoughts? I made some of your body butter and LOVE it for the rough spots and have shared it with friends who also love it.
Hi Melissa, I’m so glad you like the body butter – I do too! As for the lotion – it is rather intense. You might try a small batch with a little added corn starch. I have not done this but I have friends who use a bit of corn starch in their body care products. The vitamin E oil (keeps oils from going rancid) should help keep your lotion fresh for several months. I don’t use other preservatives as I like to make things in small batches.
My bees wax mixture is too thick. Is there anything I can do? Don’t want to add too much oil.
Temperature can have a bit of an effect. I would warm it and a bit more oil.