Healthy Honey Gummy Bears
Try this healthy honey gummy bears recipe for an easy, fun treat everyone will love. Its a great way to get some fruit juice in the kids (large and small)and they are fun to make. The added honey gives them just a bit of sweetness.

Of course, this is only one example of many delicious honey recipes you can enjoy. But, the kids are sure to love these in an extra special way.
Homemade Gummy Bears Made with Honey
Let’s be real, honey is sugar. It has a small amount of calories (about 64 in a tablespoon). But, it is a natural sugar with trace amounts of vitamins and minerals along with antioxidant properties.
Commercial varieties of these fruit snacks usually contain starch, coloring, glucose syrup and other not so healthy ingredients. Why not make your own gummy bears so you know for sure what your family is eating?
Ingredients
- Fruit juice
- Gelatin
- Honey

Fruit juice: The type of fruit juice to use is totally your call. Apple, grape, mango, cherry, cranberry and pomegranate are popular.
Be advised that cherry juice can be a bit tart – while apple or grape tends to be sweeter.
Pineapple juice doesn’t seem to work as well – I would avoid the strong citrus flavors. Look for 100% juice – not a juice cocktail with added sugar.
Gelatin: Unflavored gelatin is the product of choice for making homemade gummy bears. It has no color or flavor that might conflict with your fruit juice.
Gelatin is a protein that may provide some benefits to bones, skin and gut health. The protein and amino acids present as good for skin of all ages.
Honey: Look for raw unprocessed honey – it is my favorite for honey recipes. The flavor or variety really does not matter.
This natural sweetener is used in many different types of recipes. You can even make your own honey lemonade.
Remember that raw honey (or any raw food) for that matter is not suitable for babies. However, I doubt you will be giving gummies to babies anyway.
I like to start with raw honey vs regular honey – even though we are heating it in this recipe. But, you can certainly use pasteurized honey if you prefer and your gummies will be just fine. Using honey in your recipes is really not difficult.
This post may contain affiliate links. As an Amazon Associate, I earn from qualifying purchases. Please read my disclosure.
Bear Shaped Candy Molds
Of course, you can use any small candy mold with success. But, part of the fun of gummy bears is the bear shape.
This is the one I used and it came with a dropper. It will last a long time and make hundreds of honey gummies.
How to Make Homemade Honey Gummies
The steps involved are really very simple. It is a simple process of combining, melting, molding and then – eating! Here we go.

1.Gently warm your ingredients in a medium sized saucepan on the stove. Watch it carefully and stir frequently to prevent burning.
You do not have to reach a boil – we are only warming the juices and honey enough to dissolve the gelatin powder.
2. Now it is time to fill your gummy bear mold. Of course you can use any silicone candy mold but if you do get the one designed for gummy bears – they usually include a dropper!
It is a great idea to place your mold on a pan before filling. This helps avoid spills.
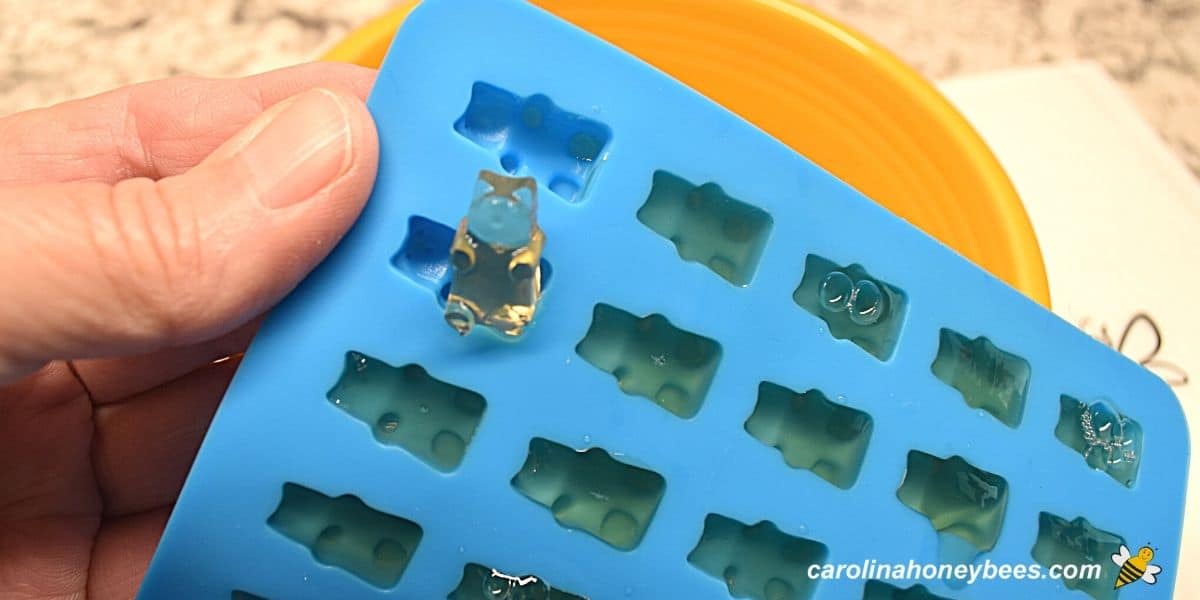
3. Refrigerate for several hours until your gummies are set. They should be very easy to remove from the silicone molds.
Storing Healthy Gummies
While you don’t have to keep them in the fridge, doing so will maintain the firmest state. Remember, this homemade treat does not contain all of the preservatives and hardeners you will find in some commercial varieties.
Another great option is to freeze them. They taste great frozen and are a nice cool snack to enjoy on a hot day.
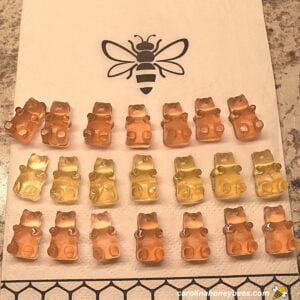
Be advised that these honey gummy bears are tiny (if you use the mold pictured). Kids love them but it does take some time to make them.
They are so cute that it is worth the effort. I think you can also reuse to mold to make small chocolate bears.

Expert Tips
If you, like me, are not blessed with a steady hand – don’t panic. The silicone mold makes cleanup a breeze. No one will know in the end if you make a small mess.
One trick is to actually lay the end of the dropper into the bear cavity. This eliminates having to manipulate the dropper and aim while filling.
To prevent air bubbles, refill the dipper before it runs completely out. I was able to fill 3 cavities on a full dropper.
If your gelatin has foam appear on the top as the honey gummies cool – no worries – just wipe or spoon it off.
FAQs
The recipe ingredients should be heated until very warm but not boiling hot. If it gets too hot the heat will denature the gelatin protein and prevent setting up.
Both honey and corn syrup share the similarities of being sweeteners. Honey and light corn syrup can often be substituted in equal measure. Beyond that, corn syrup comes from the starch in corn and honey is made by bees.
Manufacturers often use a special coating to aid in keeping gummies smooth. For homemade recipes, it is important to make sure the water/sugar/gelatin ratios are correct. Also, storing them in an air-tight container.
More Ideas
Don’t let this be your last experience of cooking with honey. It is a great partner in baking: Crispy Honey Bee Cookies or even Honey Scones are delicious.
If you really want to show off – what about this honey bee cake! It is great with coffee. And for the kids – cake pops are always a hit – try these honey bee cake pops.
Keep a jar of honey in your pantry. Stored properly honey never spoils and is useful for so many things. Homemade honey cough drops are a great addition to your pantry.
If you need a healthy portable snack – learn how to dehydrate pineapple with a light honey glaze.
And, for the adults you may try your hand a making Fire Cider. All good remedies to have nearby.
Final Thoughts
Have fun making these natural honey gummies for and with the kids. You can experiment with different types of fruit juice until you have the taste you like.
Did you like this recipe? Please leave a 5 star (⭐⭐⭐⭐⭐) rating in the recipe card below. And, don’t forget to follow me on Facebook and Pinterest.

DIY Honey Gummy Bear Recipe
This post may contain affiliate links. As an Amazon Associate, I earn from qualifying purchases.
Read my disclosure.Equipment
Ingredients
- 1 cup apple juice – no sugar added (other juices ok)
- 2 tbsp Honey
- 2 1/2 tbsp unflavored gelatin powder
Instructions
- Measure honey, juice and gelatin into a small sauce pan (or pot). Heat on stove, stirring constantly ( or lightly whisk) until the gelatin is melted. Do not get it boiling hot – just very warm.
- Remove from heat and pour into your molds. Most gummy bear molds come with a special dropper to make this task easier. Of course, these snacks can be any shape – you do not have to use the bear mold.
- Prior to filling place your mold on a flat pan. Silicon molds are soft and you need to be able to transfer the filled mold to the refrigerator.
- Leave in the refrigerator for 2-3 hours. This gives the gelatin mixture time to cool and set up into a firm state. Then, they will pop out of the silicone mold with ease.After removing from the mold, I suggest storing your honey gummy bears in the refrigerator. These are a lot of fun.
Notes
- Use any unsweetened juice of your choice
- Be sure to completely melt the gelation or the mix will not set

