Install Wax Foundation in Beehive Frames

Beeswax foundation is used by beekeepers to help guide the bees in comb building. A piece of foundation aids in the development of straight usable comb inside the frames. While plastic foundation has become more common, many of us old timers prefer natural wax. In this guide, you will learn how to install wax foundation into beehive frames, step by step.

Installing wax foundation into wooden frames is really not that difficult – but it does require a bit of care. A bad job will come back to haunt you later. That is true of most of the beekeeping equipment that you will work with throughout your years of managing hives.
Benefits of Installing Wax Foundation
Most beehives have removable frames. This makes it possibe to inspect a beehive – without destroying everything inside.
The style and size of the frames used can vary. And, we continue to argue over the “what is best” in regards to beehive foundation (beeswax or plastic). I prefer wax – that doesn’t mean that plastic is a bad thing.
At first, wax foundation sheets are fragile – they usually contain small embedded wires for support. In years past, beekeepers had to “wire their frames” horiztonally and vertically. Today wire is already embedded and the beekeeper can add extra if desired.
Benefits Include:
- natural wax material
- often results in faster comb building
- familiar scent to bees
Tools Needed
The tools used to install wax foundation varies a bit from one beekeeper to another. Whether you are doing 12 or 1200 also plays a role in what type of tools you wish to use. This list is assuming you are a backyard beekeeper with a few hives.
Typical Items:
- wooden bee frames
- beeswax foundation sheets
- small hammer
- frame nails or pins
- staple gun or small nails
- hive tool
- extra wire if you wish to add (optional)
Preparing Frames Before Installing Foundation
Before inserting the wax sheets, make sure your frames are fully assembled and square. This is easiest when working with new frames.
I find myself often replacing wax foundation in old frames. This type of comb rotation helps keep your bee colony healthy – out with the old and in with the new.
Remove Old Wax Comb
I find removing damaged or old black honeycomb to be a gnarly project but a necessary one. You want to remove all the old wax, scrape off any excessive propolis and ensure the frame is still sturdy.

1. Remove wooden “wedge” that fits under the top bar. It is held in place with small nails or staples. Try not to break it but if you do – you can still reuse the parts of the wedge.
For those with new frames – you won’t have a wedge nailed in place. It may be loosely attached to the top bar. If so, use your hive tool to break it loose and clean off any small bits of wood left on the frame.
2. Now is a good time to clean any wax and propolis off all parts of the wooden frame. Save the propolis if you wish – you can make this natural propolis tincture.
3. It is important to pay special attention to the bottom bar of your frame. If you have a “split bottom bar”, it is easy to clean away any debris with your hive tool.
If your beehive has a “grooved bottom bar” that is solid with a small groove, cleaning will require a bit more effort.
Use a hook, hive tool or screwdriver to clean out the groove well. Failure to clean the bottom bar may cause your new beeswax foundation to not fit properly.

Placing New Beeswax Foundation in Frame
1. When I install beeswax foundation, I flip my frame upside down. Why?
Most wax sheets of foundation are reinforced with embedded wires and small hooks at the top of the sheet.
The wedge bar (that little flat piece of wood) is used to fasten the hooks to the top bar. It is easier for me the keep those hooks in place when the frame is upside down.
The wire hooks must lay firmly against the top bar. Then, you can attach the wedge bar to the underside of the top bar with a staple gun or small nails. The wire hooks will be “wedged” in between the 2 pieces of wood.
2. Once the wedge strip is securely attached, I flip the frame upright and check the bottom. I use my hive tool to push the little wires into the bottom bar slot.
If it breaks a bit – no worries – just so the sheet hangs straight in the frame. This can be a bit frustrating so take your time and don’t give up.
You may have a bottom bar that is grooved, split or two separate pieces. Split bottom bars are easier for wax foundation and grooved bottom bars are traditionally used with plastic foundation.
3. If you wish to add additional support to your wax by embedding extra wiring – now would be the time to do so. I have never found it necessary but some beekeepers prefer this method.

New Foundation Promotes Colony Health
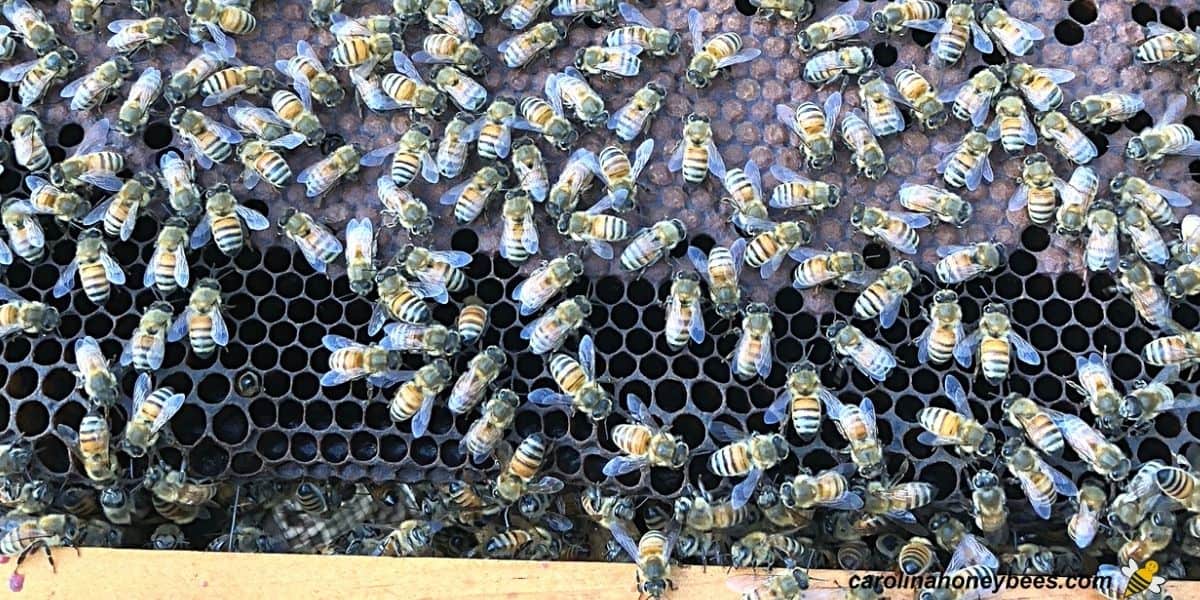
Beeswax is made by honey bees using special glands on their abdomen. Fresh beeswax is white but it becomes darker quickly.
Stains from propolis, honey, pollen and even outside chemicals are brought into the hive and absorbed into the wax. Even some of the products for varroa mite control can be present in the wax comb.
Periodically, installing fresh foundation in the hive promotes good colony health. Experts disagree on optimal comb replacement schedule-but every 5 years is a good rule of thumb.
For those using plastic foundation, you need to scrape the old wax off the plastic sheets and allow the bees to build new comb. It is quicker than dealing with sheet installation – but a nasty job.

Get the Buzz on Beekeeping & Life with Bees..
Subscribe to my weekly newsletter. Practical beekeeping guidance, along with honey uses, beeswax projects, and bee-friendly gardening ideas.
Tips for Working with Beeswax Foundation
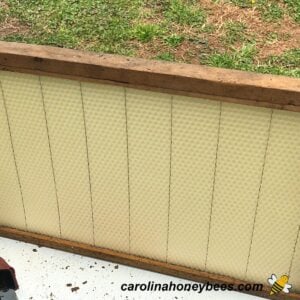
The goal is to install the beeswax foundation so that it hangs straight. The top is secured using the hooks and wedge bar. The bottom of the foundation is held in place by the split bottom bar – or it fits down into a groove.
Due to the differences in manufacturing, you will occasionally get sheets of wax foundation that is just a bit too long to fit well inside your frame. No problem, get out your scissors and nip off any extra length.
Important Points:
- handle wax foundation gently
- wax sheets will crack easily in cool weather
- don’t store beeswax foundation in very hot areas – cars, attic etc
- store wax sheets flat – warped foundation is difficult to install
- work on a flat surface
- in cold weather, gently warm foundation before you begin
If the sheets of foundation do not hang straight, you may have crooked comb in the hive. If after several attempts you are still having trouble with the sheet wanting to curve.
Use bobby pins, small nails, or commercially available support pins in the side bars. Installing beeswax foundation is time consuming. However, it is not an activity that has to be repeated every year.
Final Thoughts
Take your time, enjoy the process, you are working for your bees to give them the best possible chance of survival. Having new wax foundation in the hive promotes better hive health and makes the job of caring for them easier for you too.
Steps to Install New Beeswax Foundation
This post may contain affiliate links. As an Amazon Associate, I earn from qualifying purchases.
Read my Disclosure.Tools
- 1 Hammer
- 1 small nails
- 1 Hive Tool – J hook (or equivalent)
Supplies
- 1 piece beeswax foundation (sized for frame)
- 1 piece wooden bee frame
Instructions
- Remove WedgeThese instructions are for wedge top frames. The basic procedure is the same regardless but adjust if needed.Assuming you are replacing foundation in an old frame. Remove the wedge to loosen the existing comb. Your hive tool or a screwdriver will work.By taking your time and loosening the bar a little at a time all the way across, you can remove it from the frame without breaking it!

- Scraping Wooden PartsUse your hive tool to scrape away any bits of wax or propolis on your frame – including the wedge. We want to re-use it if possible. Cleaning the frame makes reassembly much easier.Pay special attention to the bottom bar. Whether you have a split bottom bar or a grooved slot – clean the wax out of either.
- Installing a New Sheet of FoundationOne of the easiest methods is to flip the frame upside down and let gravity aid you in the process. Add a sheet of beeswax foundation, (upside down as well) so that the bent hooks are cradled against the bottom of the top bar.
- Now, it is time to add your wedge back to the frame. The hooks should be between the wedge and the top bar. Hold it firmly in place and attach with small nails – or the easiest way is with a strong stapler. I usually put 3 nails/staples – one on either end and one in the middle. We want it to be secure – but I may want to remove it again someday too.
- With the foundation firmly attached to the top of the frame, it is time to fit it into the bottom bar. This takes a bit of patience. Use your hive tool to gently work the wires down in the bottom bar split or groove. The foundation must hang straight.


Nice instructions. Can you recommend a place to order wired wax sheets?
Thank you. Any major bee supplier should be acceptable.