Beeswax Furniture Polish

Bring new life to your wood furniture by making beeswax furniture polish at home. Polishing fine wood products is a common way to use beeswax and avoid those commercial products that contain (who knows what). This simple beeswax furniture polish recipe is an inexpensive way to protect all your wood surfaces.

We can use beeswax in many different ways around the home. Not only is it great for human skin, it can add some shine to your wooden furniture too.
Why Beeswax Polish for Furniture?
Is beeswax safe to use on wooden furniture? Sure – in most cases it is a great product for polishing various wood surfaces. Though of course, you should always try a small test area first.
The advantage of using beeswax polish is that it provides a warm glow to the surface. It does not alter the appearance of the wood or leave a fake, commercial finish.
It is so safe to use that you can use it on cutting boards too. You can even make your own moisturizing spoon butter.
Traditional wax furniture polish seals the wood and offers protection from moisture and sun. It is a light polish and may need to be applied more often than some other wood protectors. But that’s okay as it is inexpensive to make.
Many commercial products contain know carcinogens. When you make your own furniture polish, you know what is in the finished product.
Materials
There are many recipes for making your own beeswax polish. Some of them use turpentine and others suggest a variety of oils to combine with the wax.
They all work well and the one you choose may depend on what you already have. For this very simple recipe we use just a few ingredients. You may already have them in your kitchen.
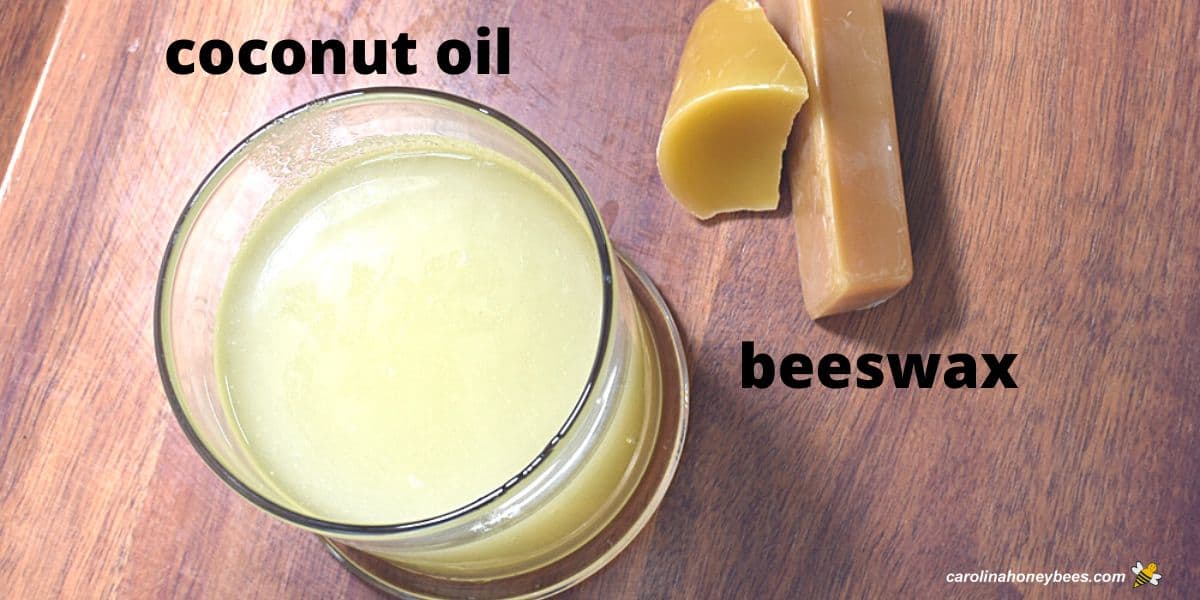
- beeswax
- olive oil
Beeswax is a natural wax made by honey bees. Bees use the wax to construct their comb and provide storage for food and a place to rear young.
Thankfully, bees can make a lot more wax than they need. The excess left over after honey extraction can be put to good use – never wasted.
Use Clean Beeswax
When using raw wax, it is advisable to clean the beeswax thoroughly. I suggest straining the melted wax through a piece of nylon or similar material. This removes any bits of dirt, wax or bee propolis that may still be present.
We do not want any dirt in our finished polish as it may scratch your nice wood surface. The rich homemade polish will last for a long time when stored in the refrigerator.
I prefer to use net weight when creating my recipes. However, you can use volume as long as you keep the proper ratios in mind. 4:1 Four parts soft oil and 1 part hard beeswax is the most common.
Olive Oil
There is no need to spend more money than is necessary on olive oil. The store brand will work just fine. Our goal is to make the beeswax more spreadable and combining with a soft oil will achieve that.
Step by Step Beeswax Polish
The process of making DIY beeswax polish is super simple. You only need to gently melt the ingredients and combine them into a jar.

1. Melt the beeswax first because it is slow to melt. Go gently – the double boiler method is the safest way to melt beeswax.
2. Once the beeswax is liquid – add the olive oil. If it has been in a cold location, it may seem a little thick but that is no problem. Slowly pour the olive oil into the melted beeswax.
3. Give this mixture a minute or so to combine and liquify. Remove pan from heat. Now is the time to add the optional essential oil or Vitamin E oil if you wish. (Amounts in how to card at bottom of post).
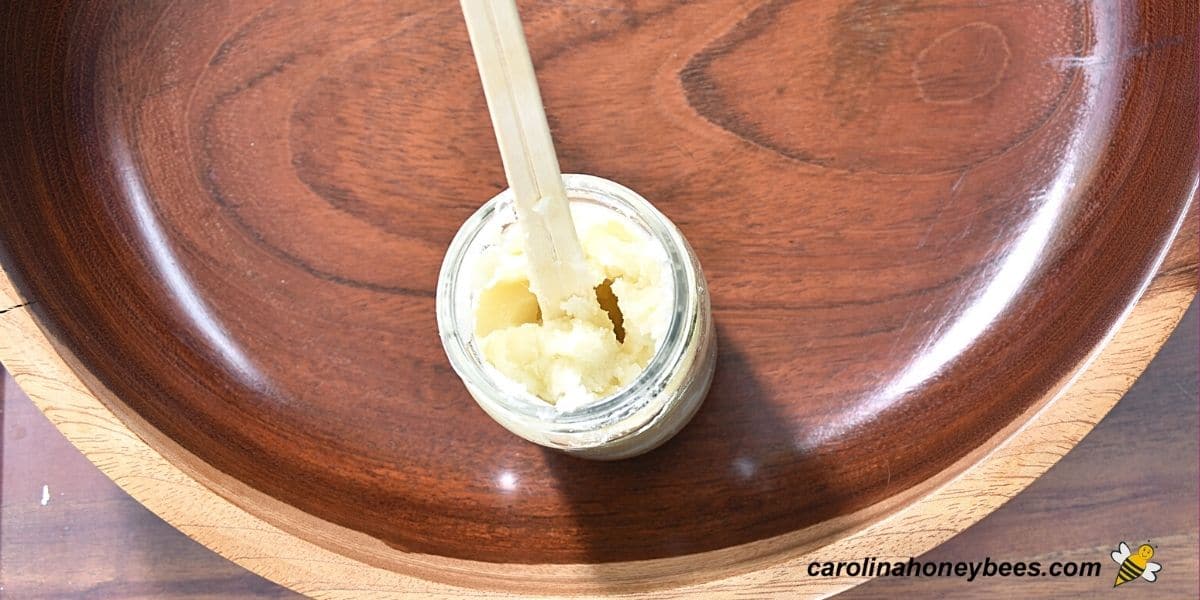
4. Pour the mixture into a heat safe container. Glass works well – a wide mouth is easier to use later. Let your beeswax furniture polish cool and set. Then it is ready to use.
Your beeswax polish will last for several months. Store in a sealed container in a cool location.
How to Use
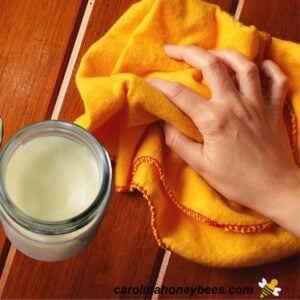
Apply a small amount of beeswax polish to your wood using a clean cloth or rag. Wipe across the wood surface with light strokes going with the grain of the wood.
Do not use a circular motion -go with the wood grain. Let it set for a few minutes and then buff off the excess. Don’t apply too thick. Using excess polish does not work better and only wastes your product.
Beeswax does serve as a cleaner for wood surfaces. It also polishes and seals the surface to protect it from stains etc.
However, if your items are really dusty or dirty – take the time to clean the furniture first. This allows your wax polish to do its very best job of renewing the wood surface.
Beeswax polish is often used as the final step in a furniture refinishing project. Then, periodic use helps keep the wood looking nice.
Benefits of Beeswax Polish
Making your own natural beeswax wood polish is a great way to avoid questionable chemicals in your home. It is also a good way to practice sustainability through using natural products.
Colonies are not harmed because only a small portion of the wax from a beehive is taken – responsible wax harvesting.
FAQs
Depending on how it is applied, the polish may clean and protect wood for several years. Most people prefer to apply light coats of wax more often.
The appearance of wood polished with wax only changes slightly. It may have a darker appearance as the natural beauty of the wood is exposed.
Beeswax polish must be applied by hand which is time consuming. It is also not as durable as varnishes.
Small shallow scratches in your wood surface may be covered by the polish. If you have a lot of scratches, they will require buffing out and then waxing.
Yes, in most cases, natural beeswax polish works well over other stains and varnishes.
More Ideas
In addition to cleaning your wood, you can create many other useful items. A homemade polish for leather is a great natural way to preserve these expensive products.
And, some of these items you can make are also great gifts when you need a small thank-you present.
Beeswax wax melts are easy to make and help freshen the air. Food wraps made with beeswax are a favorite of homes that wish to reduce their use of plastic.
This simple beeswax furniture polish recipe can be made in small or large batches. Share the shine.
Beeswax Furniture Polish Recipe
This post may contain affiliate links. As an Amazon Associate, I earn from qualifying purchases.
Read my Disclosure.Tools
- heat source – hot plate
- small container
Supplies
- 8 oz Olive Oil net wt
- 2 oz Beeswax net wt
- 6 drops Lemon Essential Oil optional
- 4 drops vitamin E oil optional
Instructions
- Melt the beeswax using a double boiler. (I love this double boiler.)Beeswax pastilles are nice and easy to measure. However, chunks of wax are also just fine.

- Once the beeswax is melted, slowly stir in the olive oil. Stir until everything is mixed and melted.

- Pour into containers. Remove the small pot with ingredients from the heat source. Now you can add a few drops of Vitamin E oil (if desired). This is not necessary but it prolongs the shelf life of the oils in the finished furniture polish.Pour the mixture into any type of container you wish to use. I pre-warm glass jars to hold my beeswax furniture polish. Let cool and seal with a lid.


Wondering if there are any issues using this over a dark blue milk paint? Also would hemp oil work in place of olive oil, I have some finishing hemp oil I’ve used for sealing other projects.
I honestly have not tried either Sami. Perhaps experiment on a small scale.