How to Extract Honey
Learning how to extract honey is one of the sweetest tasks faced by beekeepers – pun intended! Seriously though, many beekeepers manage hives with the goal of producing their own honey. Therefore, honey extraction is often the highlight of the beekeeper’s year. In this article, I share the basics of this process and the most common tools and techniques.
First, our bees work hard to produce the crop. Then, the beekeeper must do the hard work of harvesting honey from the hives. Once those boxes are safely away from the hive – your job is not complete. You have to decide what to do next.
Honey Extraction Process
New beekeepers are often dismayed to learn that they may have to wait until the next season to harvest. New colonies take time to build up with a first year focus on getting ready for Winter.
Also, the amount of honey produced by a hive in a year varies greatly. But, if you are a lucky beekeeper with honey ready to pull. It is time to decide which honey extraction process (if any) you will use.
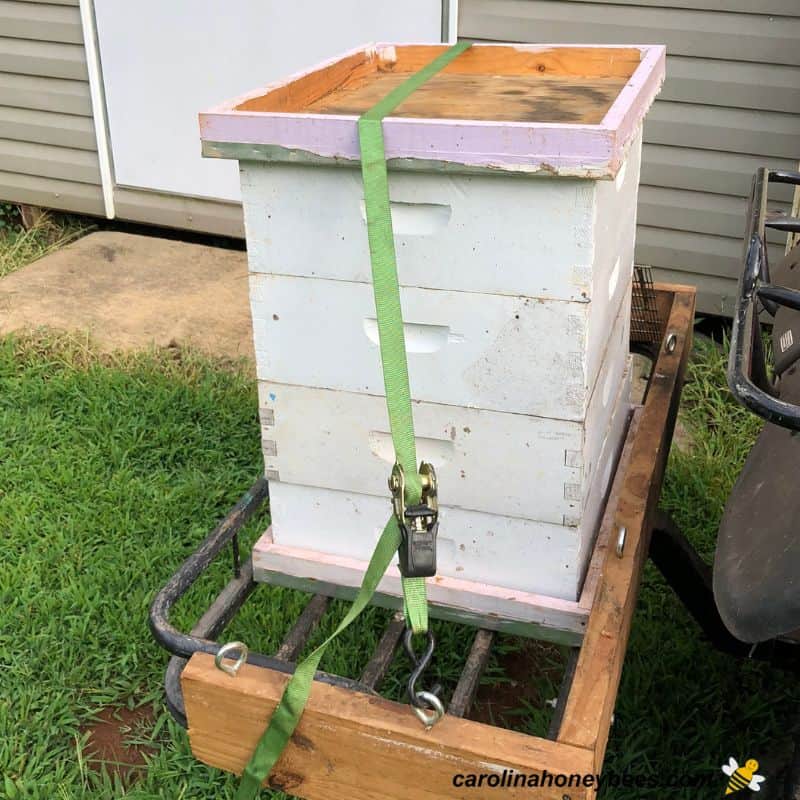
If your harvest is good, the supers will be heavy. You need to get them away from the bee yard and into your honey house or designated work area.
With the full supers safe inside a bee free room, it is time to proceed and get your honey ready to sell or use. The exact method used depends on your goals.
In most cases, honey extraction involves separating the liquid honey from the beeswax comb. But, I will also share the other method-that does not involve using an extractor too.
Methods of Honey Extracting
Some folks enjoy eating honey in the comb. Placed in a jar and covered with liquid-this is called chunk honey. It brings a premium honey price.
But, most people want jars of liquid honey to eat, store and use for recipes etc. To accomplish this, we must separate honey from the comb.

There are two basic methods of preparing honey:
- Crush and Strain – technically no extractor
- Use a Honey Extractor (electric or hand crank)
Crush and Strain : No Extractor Needed
Technically, the crush and strain method is not extraction. However, it is often talked about in the same conversation-so lets cover it now.
This is sometimes called the “old-fashioned” method of preparing honey. The sheets of honey filled comb are cut from the frames and placed into a large tub or bucket.
Then, using a potato masher, your hands or other implement-the comb is crushed. This breaks open the thousands of wax cells filled with honey.
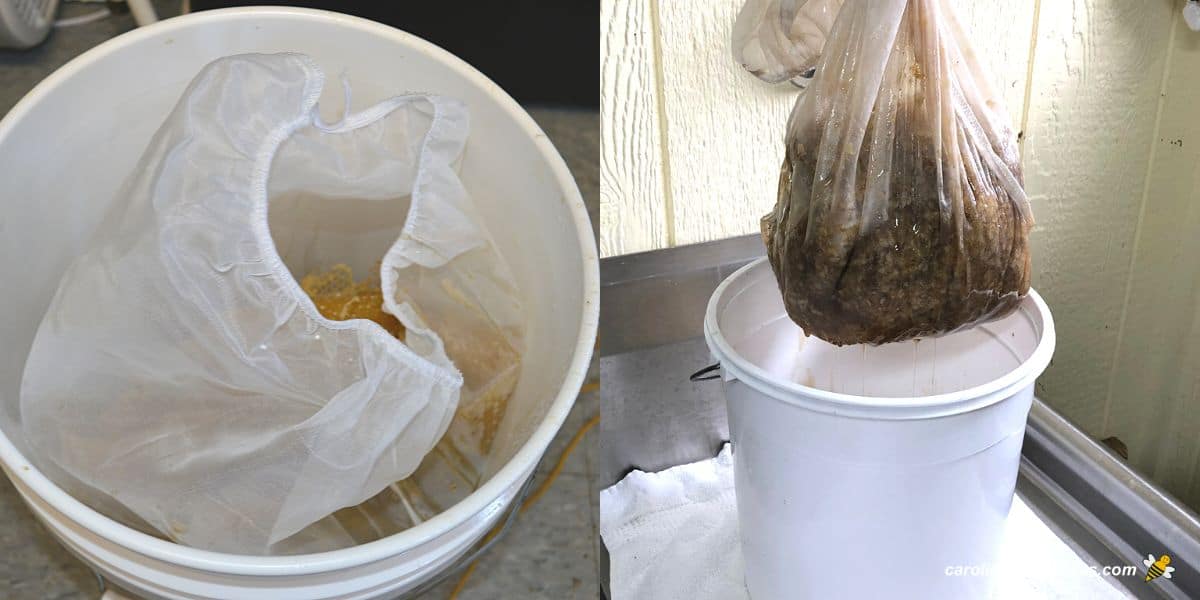
All of this is then placed in a filter bag (cheesecloth, etc.) and hung up in a warm “bee safe” location with a bucket underneath. This liquid slowly drips out of the wax into the clean bucket.
Once all the liquid has dripped out, the bucket with fresh honey is sealed with an air-tight lid. The beeswax left behind can be cleaned and used for many fun projects.
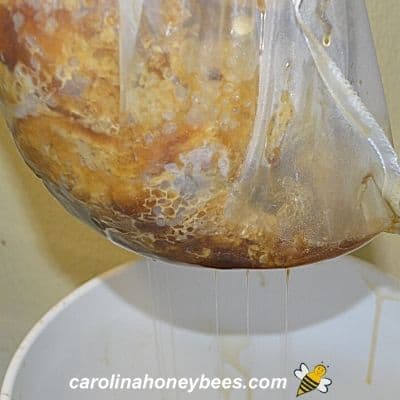
This method is as old as time itself and quite effective. However, it is a slow process and requires room to leave the bag hanging for several days safe from bees and other insects.
It also represents more hard work for the bees next season. They have to rebuild all the comb needed for the frames.
Use a Honey Extractor or Spinner
A honey extractor is a machine that holds frames in a barrel-like container. Using an electric motor or hand crank, the frames spin around causing the liquid to be spun out of their wax cells.
Beekeepers who have done a good job of assembling their hive frames should be able to extract with no problems. The honeycomb should be securely held in the wood frame and able to withstand the pressure of extraction.
Types of Extractors
Unless you make a homemade one, you will likely buy a honey extractor. Extractors are not cheap in price-but good quality ones last for years and have decent resell value.
Tangential extractors require the beekeeper to sling honey out of one side of the frame at a time. You must manually flip the frames to do the other side. In this case, extracting honey takes longer – but it still gets the job done.
Radial extractors hold the frames in a way that slings it out of both sides at the same time. These often cost a bit more but are well worth the expensive if you have more than 1-2 hives.

The Extraction Process
The process of separating your honey from the beeswax can be accomplished in a few hours with only a few boxes.
Prepare your space and have plenty of towels and clean water available to clean sticky hands.
1. When honey is ripe, bees cover each cell with a wax cap. Our first job is to get those cappings off. This job might be easier if you use frame spacers in your beehives. The most common ways to uncap honey frames is to use:
- Regular knife – often heated in a bowl of hot water and then wiped dry
- A hot knife – electric for beekeeper use
- Cappings scratcher – looks like a big metal fork with a large plastic handle
There are several more gadgets you can buy to uncap honey. However, I don’t think they are any better and it doesn’t really matter what you use.
2. Position each frame of honey over a clean bucket and remove the wax cappings. Place the “uncapped frames” in your extractor. Some will be heavier than others – try to equally distribute the weight.
3. When the extractor is full. It’s time to get it buzzing – but slowly please. You can slowly increase the speed as the frames empty – but there is no need to run the unit at top speed. And, you may damage comb if you do.
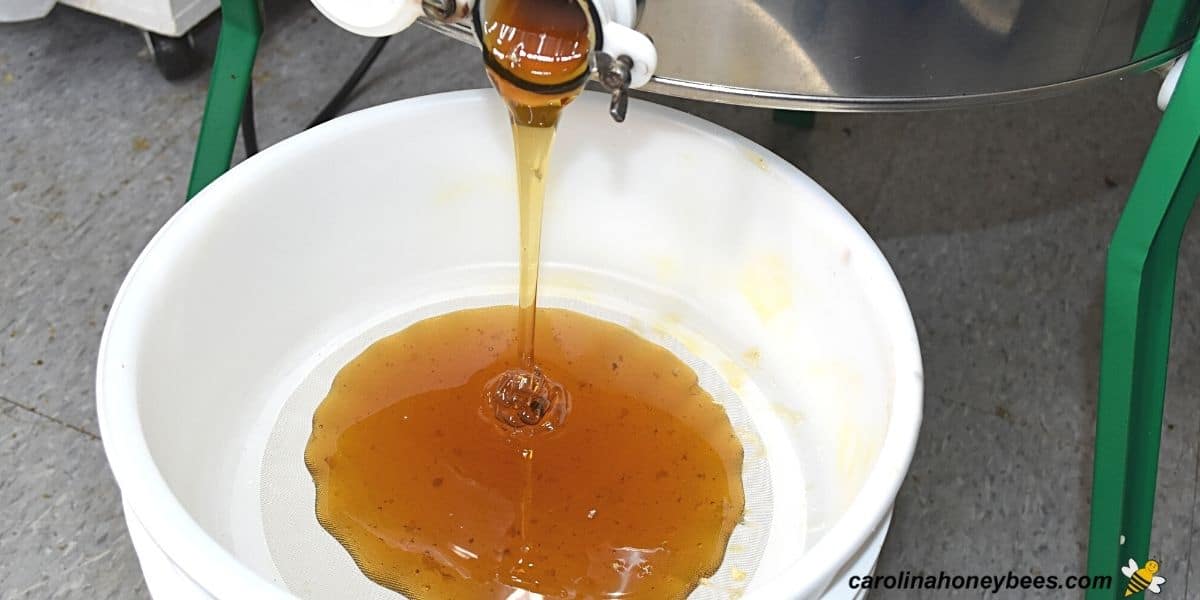
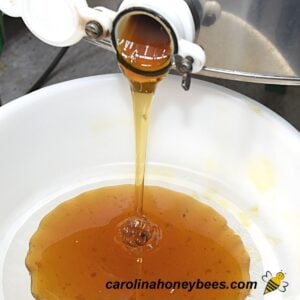
4. A clean bucket (often with a filter for honey installed) is placed under the spout to collect fresh honey and remove wax bits.
5. When no more liquid is dripping out, the frames are probably empty. Stop the spinner and remove the frames of drawn comb.
Storing Extracted Honey
When honey is stored correctly, it lasts virtually forever. Be sure to put a good seal on your extracted bucket of honey.
It is a good idea to let it set for a few days before bottling the honey – this allows air bubbles to rise to the top. A gated bucket is a life-saver for this process.

Clean Up
Thank goodness, honey is water soluable. A pail of hot water should make clean up after extracting a breeze. Though bits of dropped wax can be difficult and may need to be scraped.
Some beekeepers like to place the sticky honey supers outside for the bees to clean up. I do too though it may not be the best practice.
You will have a true “bee tornado” for a few hours and having food sources near your hives can set off bee robbing.
If you intend to let the bees clean the supers outside, place them well away from your hives. At least 100 ft or more is better. Remember those bees can fly – the boxes don’t have to be right beside the hive.
You should know how to clean your honey extractor properly, this protects your investment and makes it easy to use.
Expert Tips
Generally, capped frames are ripe and ready to harvest. But it is not a bad idea to have a honey refractometer to check the water content in honey. A high moisture content can cause fermentation.
Not everyone has the advantage of having a separate building or “honey house” dedicated to bee projects, but extracting honey is messy. Keep this in mind if you attempt the project in your house.
Your floor may never be free of beeswax again unless your protect it. Also, do not wash your extraction tools, buckets, filters in your sink – talk about clogged drains!
For those of you who have comb to reuse, store honey supers with comb properly. Give your bees a head start next year.
A conscientious beekeeper always leaves the bees enough food. Being such industrious creatures, they can produce much more than they need for Winter. It does not harm bees to harvest some of the honey produced.
Final Thoughts
Extracting honey is a fun family project. However, do not try this is your open garage. The bees can and will find you and attempt to take back their honey – can you blame them? Be sure to put those leftover beeswax cappings to good use. Make some beeswax candles or a any number of small beeswax gifts.
This post may contain affiliate links. As an Amazon Associate, I earn from qualifying purchases. Please read my disclosure.
Extract Honey From a Hive
This post may contain affiliate links. As an Amazon Associate, I earn from qualifying purchases.
Read my Disclosure.Tools
- Honey Extractor (Electric or Hand Crank)
- Electric Knife (or hot bread knife)
Supplies
Instructions
- Uncapping Honey FramesThe first step in extracting honey with a machine is uncapping. When honey is ripe, bees cap each cell with a clean wax cap. This helps keep the honey clean and protected. Before we can extract the liquid, the cap must come off. The goal is to break open or slice off the wax cappings without digging into the comb any more than you can help. Catch the cappings in a bucket. They will contain a large amount of liquid if allowed to drain. Also, cappings wax is the one of the best types of beeswax to use for candles and other projects.

- Load Uncapped Frames in ExtractorAs you uncap each frame (both sides) place it directly into the extractor. Depending on the size of your extractor you may need 4 frames, 9 or even more for a full load. If you do not balance your load, the uneven weight will cause the extractor to move. Much like Granny’s old washing machine walking across the floor. So don’t try to do a partial load in the extractor unless you position the frames evenly to distribute weight.

- Place the Catch Bucket and StrainerOnce the extractor is full of frames, you are ready to begin the process of extraction. You will have a “honey gate” spout at the bottom of the unit. This is where the liquid pours out of the extractor.Most beekeepers use a 3 or 5 gallon bucket as the storage pail, with a “bucket filter or bag” placed inside. No matter how hard you try to be careful, some pieces of beeswax will come out in the liquid honey. This strainer allows gravity to filter out the beeswax chunks etc. Of course with the strainer in place, you can not fill the bucket to the top with honey. Keep that in mind as you extract – have extra buckets. A 5 gallon bucket of honey is HEAVY! It’s okay to fill it only partially. As long as you have a tight fitting lid your honey will be fine and your back with thank you for it.

- Start the ExtractorStart the extractor spinning. Go slow – this is not a race. Especially with an electric extractor the temptation is to crank that thing up. Resist the urge.You are more likely to have your extractor walking across the floor or even damaged if you start off at top speed. This applies to hand crank models as well. Beginning too fast can use cause weak honeycomb to be thrown out of your frames. Start slow, gradually increase the speed.

- Increasing Extractor SpeedWhether using an electric or hand extractor – begin slowly. If you begin too fast, the machine is more likely to bounce around.You will notice (and hear) drops of honey and wax hitting the inside of the extractor wall as honey is thrown from the uncapped frames. Do not insert hands or any other body parts or items inside the running extractor !!!Slowly increase the speed and continue until no more honey is coming off the frames. You will likely never need to get your machine up to top speed – you may damage your comb.Honey will begin to flow from the gate at the bottom into your filter and catch bucket.

- Remove Empty FramesRemove the finished frames from the extractor. They will be very sticky but the cells should be empty of honey. If I missed a few in the uncapping process, I don’t worry. I just leave it for the bees. If you missed a large area you can put it through the extractor again but be sure to balance the weight in the machine.Special Note: Depending on the type of extractor you have – you may have to flip the frame over and do the other side.

- Cleaning Wet FramesPlace the frames back in the super boxes. These frames of drawn comb are valuable. If you have a long honey season, they can be put back on the hives and reused. If not, they will give the bees a head start next year.

- Storing Your HarvestAfter all of the honey has dripped through your bucket filter, there may be a little foam on top. That is okay. Let the honey settle a few days – then use a spatula or large spoon to skim it off.Be sure to seal the bucket with a good lid. Honey will last forever but it absorbs moisture from the air. Failure to seal the bucket could result in your entire bucket spoiling.


