Egg Shaped Candles (with Beeswax)

While there are many candle making techniques to explore, making egg shaped beeswax candles is rather unique. This tutorial uses empty eggs shells to make real egg shell candles that you can actually use. What a great way to recycle and reuse!
Crafting with beeswax is fun no matter what you decide to make. In fact, one of the most popular beeswax uses is candle making. And even better, if you mess up you can usually remelt and try again!
Egg Shell Candle Molds
Beyond the basic tapers and pillars, there are many ways to make beeswax candles. Of course one of the most popular is the use of molds.
A wide variety of beeswax candle molds can be purchased in every shape you can imagine. This is much easier than the tradition method of hand-dipping beeswax candles. But, you can do that too.
Natural Molds
What did folks do long ago when candle molds were hard to come by? Many things around the home have served as candle molds over the years. Tin baking tins were popular – but I bet it was difficult to remove them when finished.
Long before commercial molds of rubber, plastic or silicone was available – people used what they had on hand. Empty egg shells were something that everyone had.
Our idea of using empty egg shells to serve as candle molds is a nod to traditional candle crafting.
Materials
- empty egg shells
- beeswax
- wick
Egg Shells
Clean egg shells are easy to come by. You can use any size of shell but larger eggs are easier to work with.
You will pour wax in the small end of the egg and the larger end will be the base of the candle. Your egg shells should be clean and dry before you begin.
Choosing Eggs for Candles
Eggs are different. The eggs I used are fresh farm eggs from my chicken coop. I noticed that my blue Ameraucana eggs had a thicker inner egg membrane that made the shell more difficult to remove from the finished candle. You may have a similar experience if using backyard eggs from different breeds.
Beeswax
The amount of beeswax needed for these egg-shaped candles depends on the size of the eggs. Grade A large – will require more melted beeswax than small. Buy extra beeswax – you can find many ways to use it – blocks, beeswax pastilles etc.
Thankfully, because beeswax is so easy to melt. You don’t have to worry about wasting any – you can remelt and use it later.
If you use raw wax, be sure to clean your beeswax before using – candles do not burn well if the wax contains bits of honey, propolis etc.
Candle Wick
If you truly plan to burn your egg shaped beeswax candles, you do need some wick. Use a medium sized (2/0) cotton core braided wick for your candle. Beeswax burns a bit hotter than other waxes and it needs a good sized wick.
Equipment
This project is easy to do and does not require any special equipment. You will need a heat source to melt the beeswax – a double boiler set up is the safest option.
Step by Step
Preparing the Egg
Start with a fresh egg – large eggs are easier to work with. Wash the egg with soap and water – rinse well and dry.
Now, you need to remove the liquid inside of the egg. This is called “blowing an egg” . Don’t worry you can use the inside for your breakfast omelet if you wish.
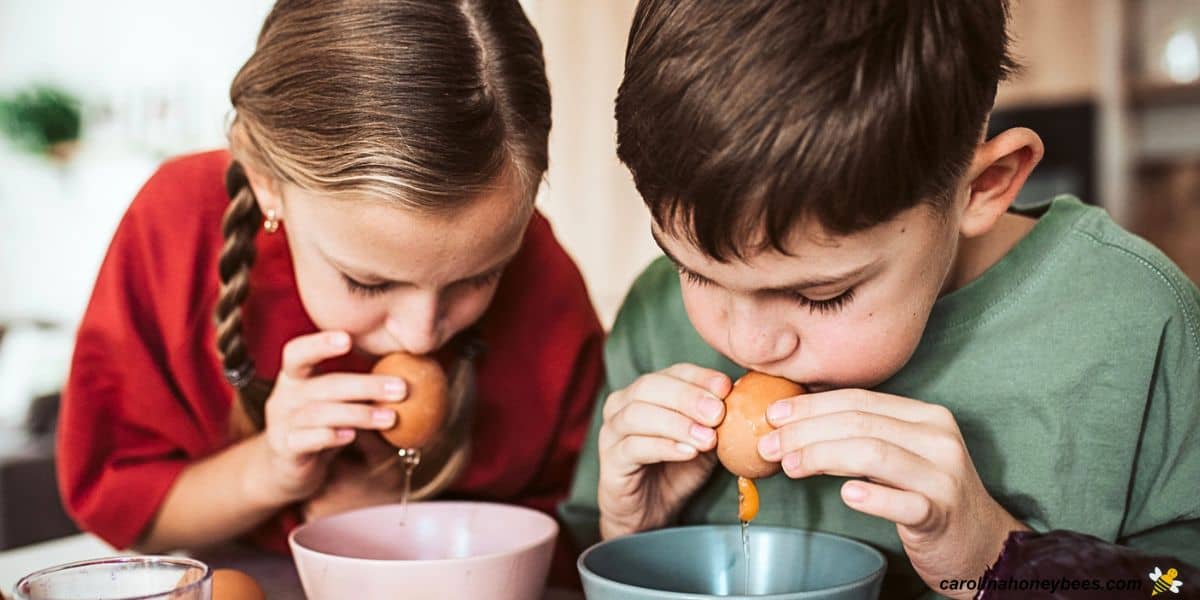
Using a large needle, small blunt knife point or awl, tap a small hole in each end of an egg. The holes should be just large enough to stick the awl (or a toothpick) in and scramble the yolk.
If you do not scramble the yolk, prepare to blow your brains out straining to get that yolk through a small hole.
Now hold the egg over the sink, or a bowl and blow forcefully in one end. The inside of the egg should squirt out of the hole on the other end.
Once the shell is empty, run water into one of the holes and swish around. We want to clean the inside of the shell. Shake out the excess water and lay aside to dry.

Filling the Egg Shell Candles
1. Begin by safely melting your beeswax. I used a double boiler method with a dedicated candy pot that sits in a saucepan of water.
2. Sometimes, I “pickle the wick” – this is where I cut a section of wick – a bit longer than I need and dip it in the melting beeswax. After dipping in hot wax – stretch out the wick to cool.
It should now be easy to insert through the empty shell. Your wick pieces should be (2-3 inches) than the egg shell depth.
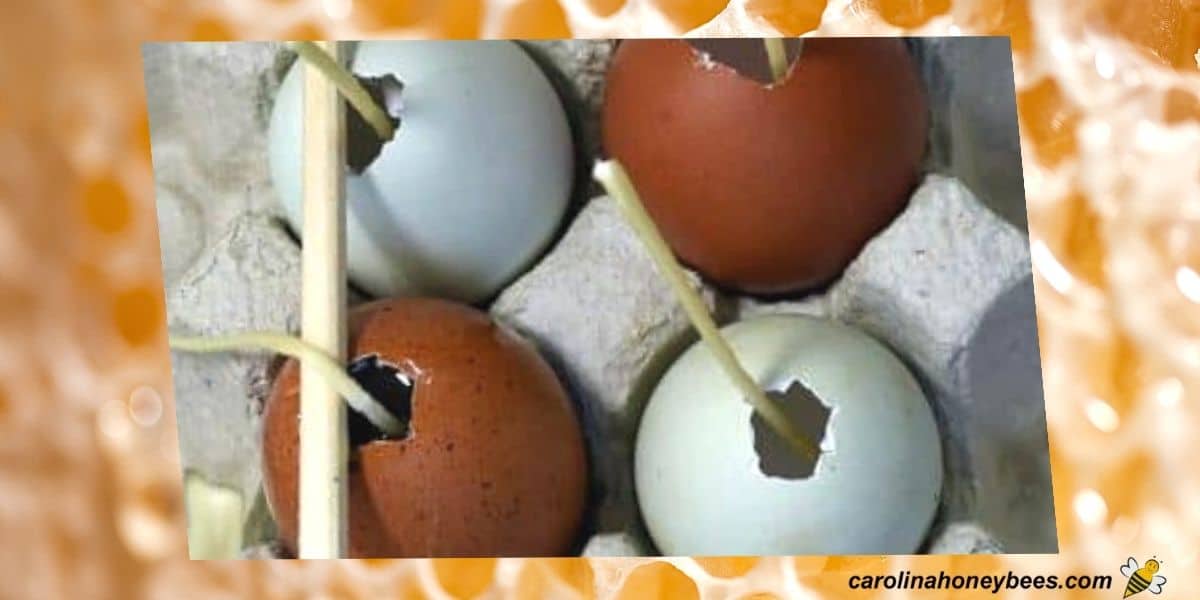
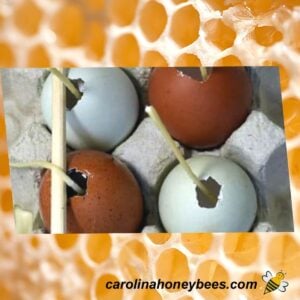
3. If you feel the hole on the bottom (base) of the shell is large – use a bit of air dry clay, tape of similar to close up the bottom hole. You can remove this later. I like to position my prepared egg shell candle molds back in a cartoon.
You also need something to hold the wick centered in at the top. You should have a larger hole in the shell on this end for ease of pouring wax. If you wish – use a hairpin (bobby pin) or clothespin, to hold the top of the wick in place.
4. Now, fill the shells with melted beeswax. You may need to top them off a bit as some wax may leak out the bottom but if the shells are cradled in a cartoon that will help. Leave in place to cool.

5. Leave your egg shaped beeswax candles to cool completely. Once the wax is completely cool – simply away the shell and trim the wick to 1/4″.

Expert Tips
Egg shell candles are really easy to make and a lot of fun. However, be careful anytime you are working with melted wax to avoid burns or fire.
As your candles cool, sometimes there will be depressions right away the wick. You can patch this by carefully pouring just a bit more wax into the degression. You can do it after peeling but it is easier to do while the shell is still on the candle.
More Ideas
Another interesting way to use natural molds and recycle is making beeswax seashell tealights. They are very popular wedding favors. Also, a good way to put all those seashells you lugged home from the beach to good use.
For the holidays, even the kids can help make these Christmas tree shaped candles with sheets of rolled wax. With cutting help, even younger kids can make them.
For a more traditional holiday idea, you can make beeswax ornaments with clay cookie molds – just like our ancestor did years ago.
Or try the blackened version using cinnamon – blackened beeswax ornaments. You are only limited by your imagination.
If the idea of a natural room fragrance appeals to you, it only take a small amount of beeswax to make DIY bees wax melts – use the fragrance of your choice.
Finally
Now you have a unique egg-shaped beeswax candle to enjoy. Great for Easter or any occasion. Creating with beeswax is a great way to make natural products for your home. A great lesson in being resourceful (as long as you eat the eggs .)
Egg Shaped Beeswax Candles Tutorial
This post may contain affiliate links. As an Amazon Associate, I earn from qualifying purchases.
Read my Disclosure.Supplies
- 1 pound beeswax
- 1 piece cardboard egg carton
- 12 pieces empty egg shells
- 3 yrd cotton candle wick 2/0
Instructions
- Using a double boiler melt enough beeswax to fill the number of egg shaped beeswax candles you want to make.If this is your first time, take a guess. You can always add more to the melting pot if needed. Use clean raw beeswax or you can purchase beeswax pastilles.

- If you want your egg candle to really be useful, consider your wick choice.For most types of beeswax candles, square braided cotton wicks are suitable. For this project I used a 2/0 wick size.Prior to pouring the candle, you should “pickle your wick”. This simply means to hold the wick by one end and dip the rest of it into warm wax.Remove the wick once it is coated with wax and lay it down straight to cool just a bit. This process helps the wick become stiff and straight.
- After the wick has cooled a little but is still warm and pliable, insert it through the empty egg shell.Curl up one end of the wick and gently seal the bottom hole in the egg.If this proves difficult, and you and unable to seal the bottom of the egg – don’t fret. You can use just a bit of air dry clay, play dough or florist putty to gently seal the bottom hole in the egg and help hold the wick in the bottom.
- Continue preparing the egg shells until you have a wick for each one. Using an egg cart to hold the eggs in an upright position is a good idea.This makes handling the eggs easier and holds them in place while you fill them with hot wax.
- Fill each shell with melted wax. Try to reserve enough wax to fill a shell completely in one pour.If you have to stop to melt more wax, do that before starting on the next egg.Don’t be alarmed if a little wax leaks out of the bottom of the egg. A small leak will not affect your finished egg shaped candle.Fill each shell with melted beeswax. Then, sit them aside to cool completely. This may take several hours.If you have trouble keeping the candle wick in place, a wooden skewer, toothpick or bobby pin can be used to hold it in place while the wax cools.
- Once cool, break the egg shell and peel all parts of the shell away. What do you have inside? A beautiful egg shaped beeswax candle.


