DIY Seashell Candles (With Beeswax)

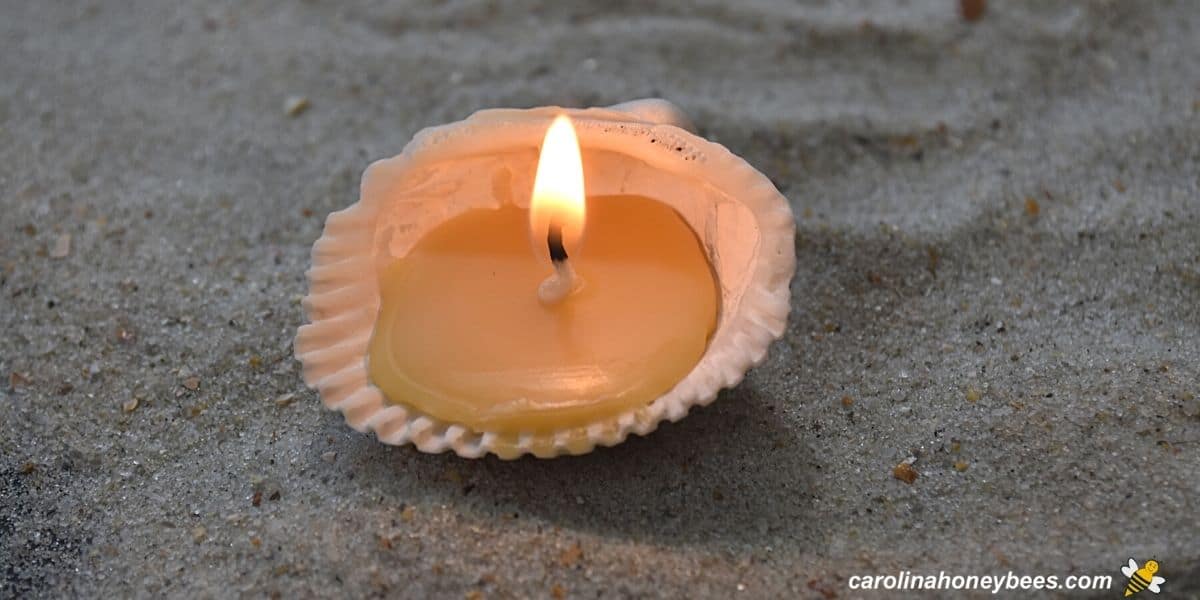
Creating seashell candles with beeswax is a great way to bring the spirit of the beach home with you. Combining the natural beauty of seashells and the warm clean burning glow of beeswax – they make any occasion extra special. In this guide, you will learn how to make seashell candles with beeswax and some tips to make the project easier. These tiny candles give off a beautiful light and can be used much like any tealight.
There are many different ways to make beeswax candles. Some of them can be rather elaborate but this project is easy-peasy.
Why Shell Candles?
I dearly love searching for seashells at the beach. While we do not get down to the ocean as much as I would like, I always plan some time alone looking for shell treasures. Perhaps, you do the same?
Honestly, my husband teases me and says that we get worse gas mileage headed back up to the mountains because of the weight of my latest shell collection.
Now, once we get our seashells home – what can we do with them? There are various shell crafts to consider. But, one of my favorites is making little beeswax tealight candles using the seashells as the container.
You are reusing a shell that would otherwise be discarded. Also, the combination of a natural shell and natural beeswax made by honey bees – it just seems right!

This post may contain affiliate links. Carolina Honeybees earns a tiny commission when you shop from our links. See our privacy policy for terms.
Materials
You only need a few items to create your diy seashell candles.
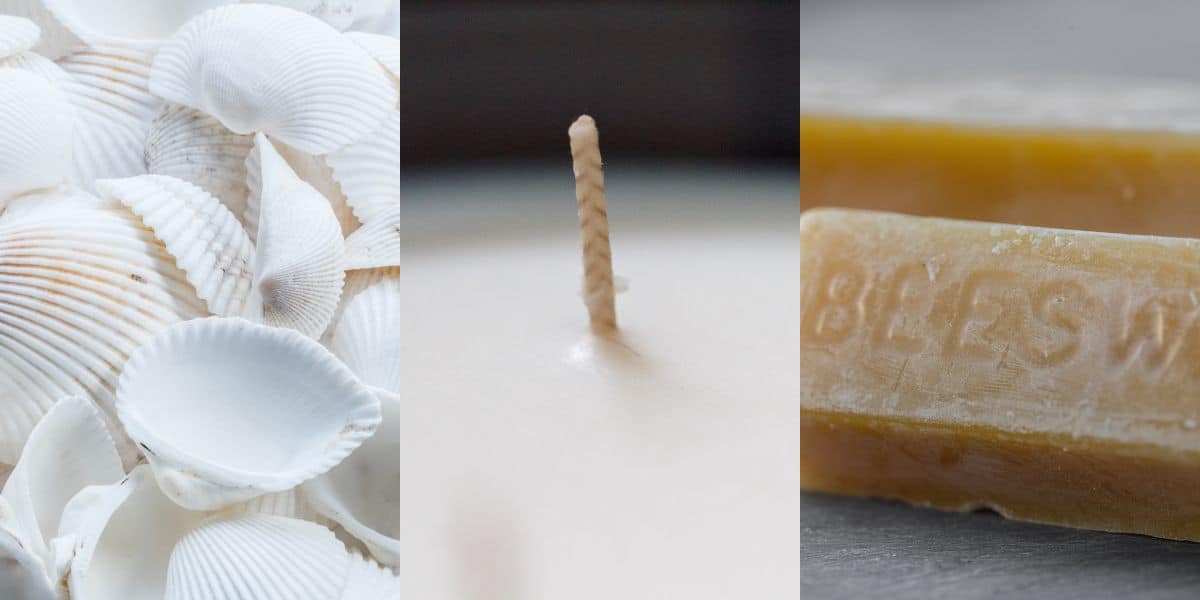
- beeswax
- shells
- wicking
Choosing Beeswax
If you don’t have your own beehives, beeswax can be purchased in many forms. Bars, pellets and pastilles are the most common forms. But, any form or any color of beeswax is fine for your shell candles.
However, if you hope to actually burn them – and that is the point, you must clean your beeswax or use wax that is already clean. Wax that contains honey residues etc will clog the wick and not burn well.
The Best Shells for Candles
If you are a shell collecting nut, like me, your collection probably has some of every size and shape. However, for making seashell candle tea lights, the common ark shells are some of the best.
We want a candle that is small enough to only require a small amount of wax but large enough to burn for a bit.
The process is the same as when using metal tins or other small containers to hold wax. However, seashells tend to rock a bit and not have a flat bottom – so keep that in mind.
If you are not lucky enough to have a shell collection on hand, no worries. You can purchase sea shells to use in your candle making crafts.
Wicking
Wicking for burning beeswax can be a bit tricky. I’m not gonna lie – you may have to experiment a bit. I find that little tabbed tealight wicks are the perfect size candle wicks for this project. Just trim them down to a smaller size and discard the excess wick length.
Equipment
There is really no special equipment needed to make seashell candles. We are using beeswax in this tutorial – so you need a heat source and a container to melt the wax in.
It is always best to melt beeswax in a double boiler. I have a small one dedicated just for this purpose. Beeswax is a wonderful crafting medium but it deserves care and respect when melting to prevent fire or burns.
Scenting Your Candles
Often when making candles with beeswax, crafters choose to forgo added scent and enjoy the natural odor of the wax. However, if you want to add scent – a few drops of essential oils or fragrance oils in the mix will work very well.
Process Tips
1. Begin with clean dry seashells. Chose those with as stable a base as possible. It is okay if they rock a bit but you don’t want the wax to spill out.
2. Melt your beeswax using a safe method. Let it melt slowly – there is no need to rush. You don’t want to overheat your wax. Not only can it be dangerous – you may also darked your wax.
3. Prepare your wicking. Tealight or even votive wicks can be used – you can trim them to size later. Those with a tabbed base are easiest to use for this project – due to the small size of the shell candle.
4. Carefully, pour melted beeswax into the cavity of the shell. Don’t overfill – leave just a bit of space because you will not place the tabbed wick inside. Make sure your wick is stretched straight before placing it in the hot wax.
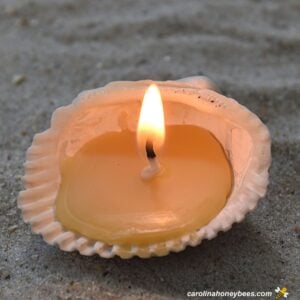
5. Let the shell candle cool. When completely cool, use scissors to cut the wick to a 1/4″ length.
Using Your Candles
Now, doesn’t that sound easy? You can make some beautiful decorative candles that can be used for any occasion. They are a wonderful addition to summer table settings giving a beach-inspired touch.
And, this is a great way to preserve and use some of those seaside treasures. Of course, as always, take care when using any type of candle as unwanted fire or burns can result.
Beeswax seashell tealights make great gifts or wedding favors too! And what about those end of the year teacher gifts – a small handmade beeswax gift?
Older children can help make these with a bit of supervision and have a lasting memory of your beach vacation.
More Ideas
Another easy peasy candle project is using craft sheets of beeswax to make hand rolled beeswax tapers. If you have never tried it – you really should. A slightly more complex project – create Christmas tree shaped candles with rolled wax sheets.
For those of you looking for a more traditional approach, creating hand-dipped beeswax candles is a special project to enjoy. These solid candles burn for a long time and look nice as part of a farmhouse decor.
Beeswax is very easy to work – I enjoy preserving Fall leaves by dipping in beeswax and making garlands for the holidays.
Traditional beeswax Christmas ornaments can be made using cookie molds.
And for Summer, what about using that left over beeswax to make citronella candles for your next outdoor party?
Of course if you want larger candles, conventional beeswax candle molds are another good choice.
Now if you really want to create a unique elegant project – try using dried flowers in your jar candles. They are very impressive and one of a kind. So much beeswax and so little time – what can you create?
Seashell Candles Tutorial
This post may contain affiliate links. As an Amazon Associate, I earn from qualifying purchases.
Read my Disclosure.Tools
- double boiler (pot to melt wax) (or equivalent)
Supplies
- 3 ounces beeswax
- 3 pieces tealight wicks
- 3 pieces seashells small (any size)
Instructions
- Select the right size seashellChoose a shell that when sitting level will hold a bit of wax. I honestly never measure but let’s say a tablespoon of melted beeswax.

- In general, I always use cotton core wicks of the appropriate size when making beeswax candles.However, the pre-made tealight wicks work so well with this seashell candle that I am recommending you stick with them.You will need one for each candle. Take them out of the bag and make sure the wick is secure on the tab and straight before you proceed.
- There are many different ways of cleaning and melting beeswax. You do want clean wax for a clean burning candle.If you are purchasing beeswax, it will most likely be ready to use. For those of you using raw beeswax, you may need to clean it a bit more to ensure any excess honey is removed etc.The best and safest way of melting beeswax is always using the double boiler method. You can make your own with a mini-double boiler insert. I have 2 or three that I use for my wax projects.If you choose to add a few drops of essential oil for scent. Stir it in just before pouring into the shell.
- Pour wax. Carefully pour a small amount of melted beeswax into the deepest part of the shells. I suggest you make one at a time. If you are not steady and a bit nervous (like me) you may overflow the candle. That is okay – you can wipe the excess off.However, will the wax melt and pool out of the candle when you light it? Take care to leave a bit of shell on the rim.
- The wax cools rather quickly but you have a few seconds to work. This is why it is important to have your wick ready before you start and to only pour one candle at a time.Set down your cup of melted wax and quickly but gently insert the prepared tealight wick and tab into the melted beeswax. The tab should help anchor the wick.Let your candle cool for a couple of hours. The time needed will depend on the ambient temperature of the room. Trim the wick to 1/4″ and you are ready to enjoy.


