Bees Wax Christmas Tree Candles DIY
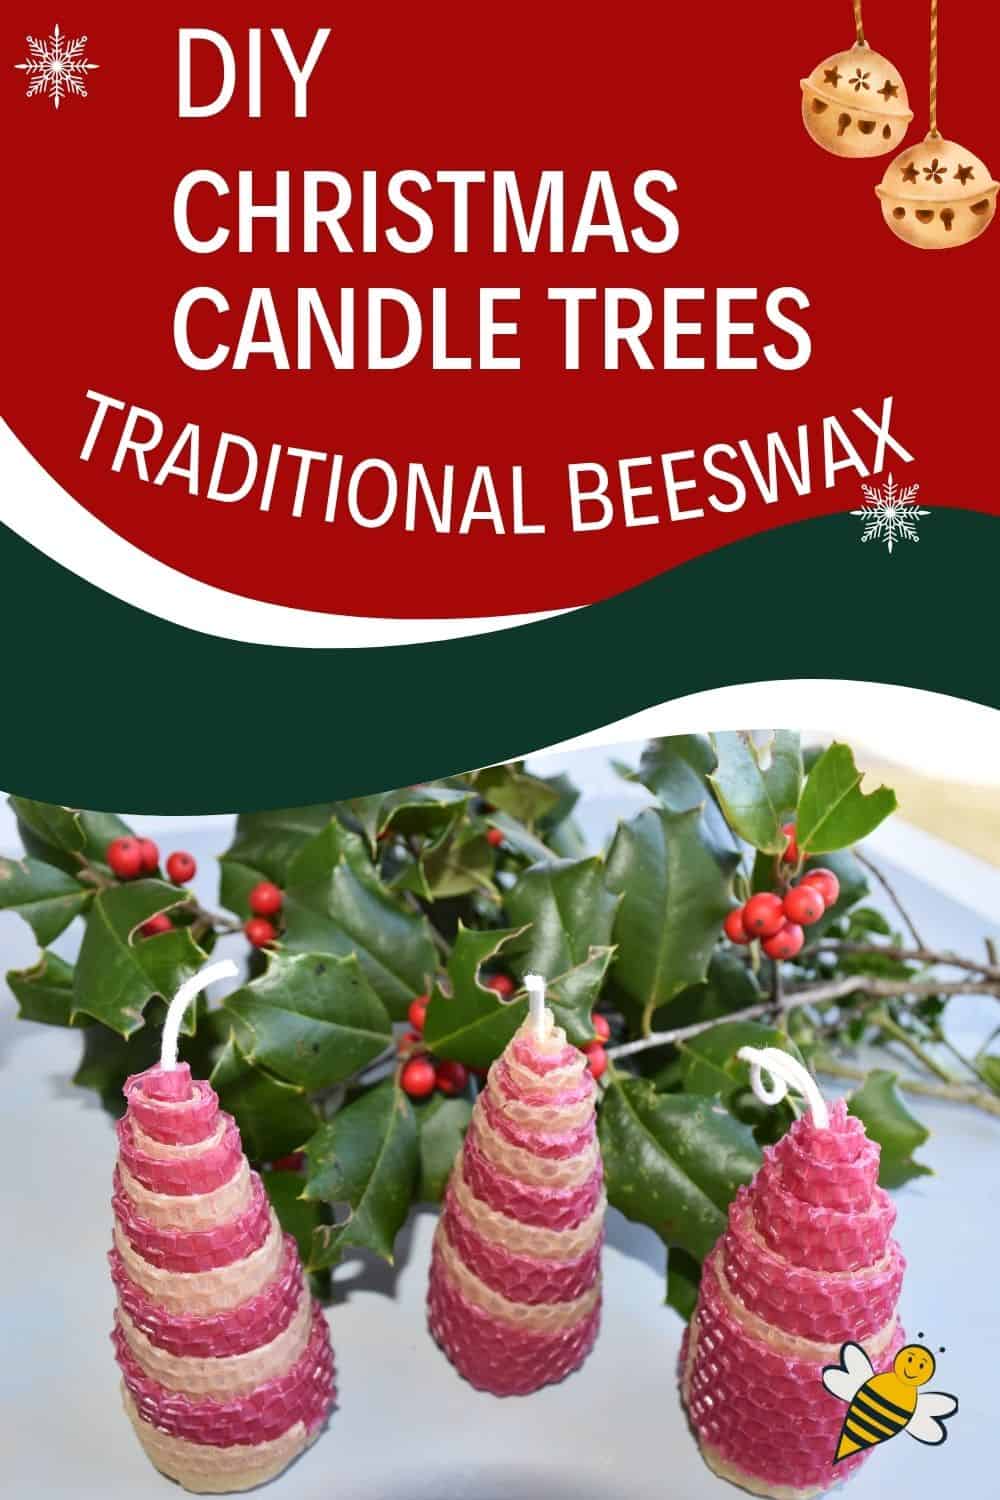
There is something special about making decorations for the Christmas season. Let me show you, how to make diy beeswax Christmas tree candles using simple wax sheets. This project comes together quickly with no messy melting and pouring involved. It is a fun craft for all ages. Whether you are decorating your home or looking for a unique handmade gift, these festive candles are sure to please.

While these certainly can be used as real candles, they are best used for ornamentation only (I’ll show you how to do that). Certainly do not light them and place on the tree! Luckily, making beeswax candles to burn is not difficult-if you want to progress farther in the creative process.
Why Make DIY Christmas Candles?
Holiday decorations bring a season of warm to the season. And when you make diy Christmas candles and decor using natural resources – that’s a win win.
Perhaps, you have seen various colors of elegant candles made from sheets. They are very popular – in part because making rolled beeswax candles is so simple. You can have them in different colors for various occasions.
In this guide we are going to take that process one step farther. By cutting the craft beeswax sheets in a special way – you have a striped beeswax Christmas tree candle or ornament.
This post may contain affiliate links. As an Amazon Associate, I earn from qualifying purchases. Please read my disclosure.

What You’ll Need
You only need a few pieces of equipment and supplies to make these diy Christmas candles.
- pair of scissors – or exacto knife
- heat gun or hair dryer (optional)
- ruler or t-square
- sheets of colored beeswax (red, green, white or natural)
- wick 1/0 or 2/0
Beeswax Craft Sheets
Beeswax craft sheets are usually about 8 1/2” wide and 16 ” long. They come in an array of beautiful colors and are a bit thicker than regular wax foundation used by beekeepers.
These are the ones I am using for this project – beeswax craft sheets. Of course, you can purchase many kinds of candle making kits that contain a lot of different colors.

*If you are a beekeeper with natural wax sheets (no wire) it is okay to use what you have. The shape and sweet smell will be there – they just will not be colored.
And, you just need to be a bit more careful as it is usually thinner than crafting wax.
To create a striped rolled Christmas tree candle you will need 2 craft sheets of beeswax. One of each color desired.
This can be the traditional colors of red, white or green but it is fine to use other stylish colors to match your décor.
Proper Size Candle Wick
Beeswax candles require a different wick size than other types of candles.
For this project, choose cotton candle wicking that is a size 1/0 or 2/0/ – be sure the/0 is on there as a wick size 2 is not the same as 2/0.
Wick is not very expensive. It is a good idea to keep some on hand for other beeswax projects.
While these beeswax Christmas tree candles can be used as a candle – I prefer using them as an ornament. (Of course, it goes without saying that I would not hang them on a tree while lit. That’s a fire hazard we don’t need.)
When making candles I always want to use the correct size wick – whether they will ever be lit or not.
How to Make Christmas Tree Candles
(Complete Instructions at Bottom)

1. Begin with two sheets of wax – one laid on top of the other. The color doesn’t matter yet – we are just preparing the wax.
The average sheet width is 8 1/2″ and we want to cut them in half lengthwise. Measure up 4 1/4″ on each short end (that’s half of your width) and cut – you should now have 4 pieces of beeswax.
2. Place 2 sheets of the cut wax on the table (one of each color) – again with the long side of the rectangle running left to right. Align the sheets so that they are stacked on top of each other.
Using your ruler, measure up ½ inch from the bottom of the rectangle on your left side – and ½” down from the top right corner. This line will create a diagonal line that you will cut along and create 4 triangles.
3. Place one of the triangles on the table. The 3 ½” side is closest to you with the taper pointing away. Lay the other color of wax on top of the first sheet.
Adjust the 2nd color of wax so that the longest edge is about ¼” up from the edge of the bottom sheet. You should see a small strip of the color peeking out. The right angle of the triangle will be on your left side.
4. Cut a piece of wick about 6″ long – Place the wick along the short end of the triangle – left to right. On the right angle corner (this will be the bottom of the candle) the wick should be flush.
The remainder of the wick can hang out the top. Slowly roll up the sheets – encasing the wick. A little gentle heat with a hair dryer if needed.
Tips for Success
These candles can be used as small inexpensive homemade gifts made from beeswax or even ornaments on the tree.
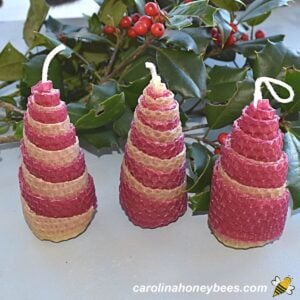
The final appearance of your beeswax Christmas tree shaped candles will vary just a bit depending on how tightly you roll up the wax.
But, no worries – they are special handmade items and not supposed to look like one of thousands from a factory floor.
Beeswax becomes brittle when it is cold. Work in a warm but not hot room. And, you can gently warm the wax sheets a bit with a heat gun or hair dryer if needed. Don’t overdo it or your wax will melt!
This is not a messy project but take care as small bits of wax can sometimes fall on the floor. Getting bits of wax off the floor can be a pain. Removing beeswax from surfaces is a chore we want to avoid.
Use and Storage
Now you have a handmade craft that can be used as tree ornaments, place settings, or party favors. What a lovely inexpensive gift to send home with someone.
Store your finished tree-shaped candles or ornaments in a cool place. Beeswax melts about about 147°F.
Keep them away from heat sources and store them in a room temperature location. Don’t put them up in the attic during Summer!
More Ideas
Looking for more easy beeswax crafty ideas? For the easiest poured wax candle – this DIY beeswax candle recipe is a quick idea – just be sure to choose the right wick size for your jar.
What about some homemade beeswax fire starters made with beeswax and pinecones? A perfect fit for someone who has an outdoor fire pit or loves to go camping.
Is this the year to add even more traditional beeswax crafts to your holiday. If you want to work with melted wax, try these blackened beeswax ornaments. They are beautiful but do require a bit more effort.
Working with wax is a lot of fun but it’s not for everyone. If you love bees try this non-wax bee craft – comical bee gnome – a perfect idea for adults and older children.
And, don’t be shy about buying some commercial bee-themed Christmas ornaments either. They offer nostalgic designs and bright pops of color.
Safety Notes
By using a looped wick, I prefer to use these as ornaments rather than regular burning candles. However, if you do light them be sure to take all safety precautions. Never leave them unattended, do not place near flammable decorations or objects, use a safe candle holder.
Final Thoughts
Making these DIY Christmas candles/ornaments is an easy way to add a homemade touch to your holiday. Use them as gifts or as part of your holiday decor. They are sure to bring a smile to many faces.
DIY Christmas Tree Candles /Ornament Tutorial
This post may contain affiliate links. As an Amazon Associate, I earn from qualifying purchases.
Read my Disclosure.Tools
- scissors
- heat gun (or hairdryer)
- ruler
Supplies
- 1 piece beeswax craft sheet white or natural
- 1 piece beeswax craft sheet (colored) red or green
- 1 piece cotton candle wick 2/0 18"
Instructions
- Place the 2 sheets of beeswax on a table or sturdy surface. (You are going to cut the wax sheet so be sure to protect your table or surface counter).Lay the wax sheets – one atop the other – it does not matter which color is on top. I was using regular 1 sheet of regular foundation that was slightly larger – so I trimmed off the excess.

- With the sheets of beeswax laying in front of you (long side going left to right), measure 4 ¼” from end to end.Your goal is to cut the sheets in half lengthwise and end up with a long rectangle. Make the cut.You now have 4 pieces of beeswax – 2 of each color. Lay 2 of them aside for later – we only need 2 (1 or each color) to create our candle.
- Place the 2 sheets of wax on the table – again with the long side of the rectangle running left to right. Align the sheets so that they are stacked on top of each other. Using your ruler, measure up ½ inch from the bottom of the rectangle on your left side – and ½” down from the top right corner.This line will create a diagonal line that you will cut along and create 4 triangles (2 of each color).
- Cut the wick for your beeswax Christmas tree candle – about 6” – you can always trim it later if you plan to burn it. You need 1 piece of wick for each candle you plan to make – and 2 of the beeswax triangles.
- Place one of the triangles on the table. The 3 ½” side is closest to you with the taper pointing away.Lay the other color of wax on top of the first sheet. Adjust the 2nd color of wax so that the longest edge is about ¼” up from the edge of the bottom sheet. The right angle of the triangle will be on your left side.
- Put the wick along the short end of the triangle – left to right. On the right angle corner (this will be the bottom of the candle) the wick should be flush. The remainder of the wick can hang out the top.
- Gently warm the wax with your hair dryer on a low setting for a few seconds – to not overheat the wax.Take a ruler and use it to evenly fold up a small section of wax to enclose the wick. With your fingers – firmly enclose the wick in wax material.
- Using 2 hands, firmly roll up the candle. Try to keep the bottom edges aligned properly with the same amount of overlay.Once the sheet is completely rolled up – hold the candle in your hands and let your body heat seal the edges.


